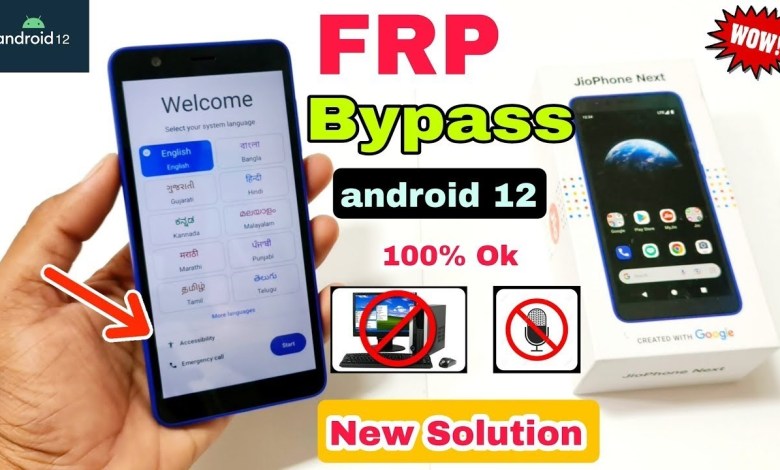
Curious about JioPhone Next FRP Bypass on Android 12? Check out the latest solution!

JioPhone Next FRP Bypass Android 12 | New Solution | JioPhone Next FRP/Google Account Bypass | #gps
Hello, friends! I am Suman Shree and I welcome you all. Today, I have a red phone with me. This is a J phone. The problem with this phone is that it has an FPR lock, which is also known as a Gmail lock, inside it. The lock is already applied inside the phone. So, first of all, let’s connect to Wi-Fi and check if the FRP lock is really applied inside the phone or not. You can also see a symbol of a lock at the top where we are trying to show you. This confirms that your Gmail ID is linked to this phone. I will try to show you through the multi-tool how it works. Let’s see how it’s done. As soon as we skip ahead, you can see here that the old pattern is being asked for or if you have a customer requested one. We are not sure about both. So, we will try to show you how to do it. First, we will open the phone. We have already opened the multi-tool here. After opening it, you need to short both points and insert the USB cable into the laptop. On the laptop, we will open the Jio1 written in the multi-tool. We will click on the Erase FRP or Reset FRP options here. Then, short the test points and connect the phone. As soon as we connect it, the phone will automatically show you the process being completed. After that, your phone will turn off. As soon as it turns off, our device reboots here. We can see here that the device has opened. Even after opening the phone, it takes a lot of time. Sometimes it takes 3 minutes, 4 minutes, or 5 minutes. So, we have fast-forwarded the video a little bit. If we hadn’t done that, you wouldn’t have been able to see it immediately. So, the video becomes quite long. Let’s move forward.
In the next step, we need to check if the phone has actually opened. Sometimes, even after opening the phone, it takes a lot of time. So, we fast-forward it here. If we don’t fast-forward, you won’t be able to see it immediately. So, let’s move forward.
Now, let’s move on to the next step. Here, we need to click on the Remove FRP option in the menu. After that, we need to click on the Reset FRP option. After that, we need to short both points and connect the USB cable to the laptop. Then, we need to open the Jio1 option in the multi-tool. We need to click on Erase FRP or Reset FRP. After that, we need to connect the phone and short the test points. As soon as we connect it, the phone will automatically show you the process being completed. After that, your phone will turn off. As soon as it turns off, our device reboots here. We can see here that the device has opened. So, this is how the FRP lock can be removed from a phone. The process is a bit tedious, but with the right tools and steps, you can successfully unlock your phone.
In conclusion, removing the FRP lock from a phone is a technical process that requires a certain level of expertise and patience. However, with the right tools and guidance, it can be done successfully. I hope this video was helpful to you in understanding how to remove the FRP lock from a J phone. Thank you for watching.
#JioPhone #FRP #Bypass #Android #Solution


