How to Delete Your Google Account on Xiaomi Redmi Note 12 Running Android

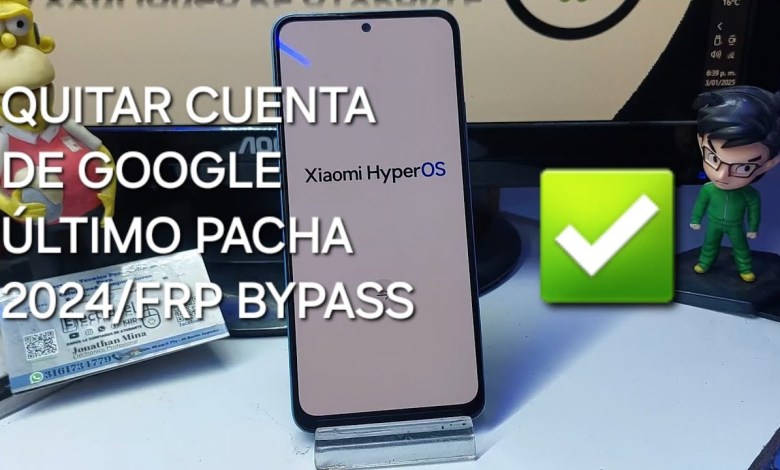
Eliminar Cuenta Google Xiaomi Radmi Note 12 / Android 14 – HyperOs / FRP BYPASS Ene/2025 (SIN PC)
Removing Google account from a Redmi Note 12 can seem like a complicated task, but with the right steps and a few tools, it can be done easily. In this video, Jonathan Mina will show you exactly how to do this with detailed instructions. So grab your SIM card with a security pin, a stable internet connection, and let’s get started!
### Step 1: Prepare your SIM card
Before we begin the process of removing the Google account from your device, it’s important to have a SIM card with a security pin. This will be necessary to initiate the process and ensure a smooth transition. Make sure your SIM card is ready with the pin already set up.
### Step 2: Connect to the internet
An essential step in the process is to have a stable internet connection. This is crucial for the smooth execution of the task. Make sure you are connected to the internet before proceeding with the steps.
### Step 3: Identify the lock screen
Take a look at your device and identify the lock screen. If you see a padlock symbol or any indication that the device is locked due to a Google account, then you are on the right track. This symbol indicates that the device is locked and needs to be unlocked.
### Step 4: Start the process
Now that you have everything in place, it’s time to begin the process. Follow the instructions on the screen, including entering your SIM card pin and connecting to the internet. Pay attention to every detail and follow the steps carefully to avoid any mistakes.
### Step 5: Skip unnecessary steps
As you go through the setup process, you may encounter unnecessary steps that can be skipped. Look for the option to skip or omit those steps to move forward with the process smoothly.
### Step 6: Add a Wi-Fi network
When prompted, add a Wi-Fi network to your device by entering the password. This step is crucial for a successful completion of the process, so make sure you have the correct Wi-Fi password handy.
### Step 7: Follow the instructions
As you progress through the setup process, follow the on-screen instructions closely. Make sure to follow each step carefully to avoid any errors or issues that may arise during the process.
### Step 8: Restart your device
Before you begin the process, it’s recommended to restart your device to ensure a clean slate. This will help optimize the success of the task and prevent any complications that may occur if you have attempted other methods before.
### Conclusion
Removing a Google account from your Redmi Note 12 can be a straightforward process if you follow the steps mentioned in this video. Jonathan Mina’s detailed instructions will guide you through the process and help you successfully remove the account from your device. Make sure to have your SIM card ready with a security pin, a stable internet connection, and follow the steps carefully to ensure a smooth transition. Good luck with removing the Google account from your device!
#Delete #Google #Account #Xiaomi #Radmi #Note #Android


