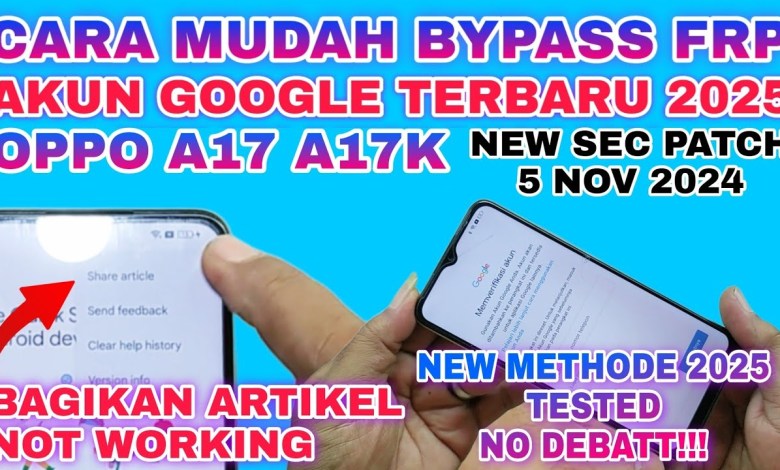
Unlocking Secrets: How to Bypass Google FRP on Oppo A17 and A17K!

BYPASS FRP AKUN GOOGLE OPPO A17 A17K TERBARU || HOW TO FIX BYPASS FRP OPPO A17 A17K WITHOUT PC
How to Bypass FRP on Oppo A17K (Cpha 2471i) – A Comprehensive Guide
Introduction
Hello, and welcome back to our channel focused on art and technology! In today’s tutorial, we’re diving into a crucial topic for many users: how to bypass the Factory Reset Protection (FRP) on the Oppo A17K (Cpha 2471i) after resetting your device. If you’ve found yourself locked out following a factory reset, you’re not alone. Many users run into this issue, particularly when the device requires Google account verification.
Understanding FRP and Its Importance
FRP, or Factory Reset Protection, is a security feature aimed at protecting your device and personal information. It prevents unauthorized access after a reset, but it can also be a hurdle for legitimate users who may have forgotten their credentials. Being informed about FRP can save you a lot of time and effort.
Common Issues Users Face
Before we get into the tutorial, let’s talk about some common problems users encounter while bypassing FRP on the Oppo A17K:
Constant Update Requests: Many users report that after resetting their device, they’re bombarded with update requests for apps like YouTube.
- Cloning Data Issues: Some users experience difficulties connecting their devices when trying to clone existing data. This can further complicate matters when trying to bypass FRP.
Step-by-Step Tutorial for Bypassing FRP
Prerequisites
- WiFi Connection: Ensure you have a working WiFi network or hotspot to connect your Oppo A17K.
- Device: Your Oppo A17K must be reset to the point where the Google verification screen appears.
Step 1: Connect to WiFi
First and foremost, you need to connect your device to a WiFi network. Follow these instructions:
- Power On Your Device: Turn on your Oppo A17K.
- Navigate to WiFi Settings: On the setup screen, look for the option to connect to WiFi.
- Select Your Network: Choose your WiFi network and enter the password to connect.
Step 2: Change Language Settings
Once you are connected to WiFi, we need to change the language settings to English:
- Return to the Language Selection Screen: If you’re not there already, go back until you reach the language options.
- Select ‘English’: Choose “English” from the list of available languages. This step is critical because some functions may not display correctly in other languages.
Step 3: Bypass Google Account Verification
Now that you have connected to WiFi and changed the language settings, it’s time to bypass the Google account verification:
- Restart Your Device: Restart the Oppo A17K to ensure all settings take effect.
- Proceed with Setup: When you reach the Google Account verification screen, look for the option that says “Skip” or “Use a Different Account.”
- Follow On-Screen Instructions: Continue with the step-by-step setup process, and respond to any prompts that appear on your screen.
Step 4: Log In to Your Google Account
If you’ve successfully bypassed the verification, you will now be able to log into your Google account. If you have trouble during this step, double-check your username and password or try the following:
- Reset Your Password: If you’ve forgotten your credentials, you can reset your password through the Google Account Recovery page.
- Utilize Backup Codes: If you’ve set up two-factor authentication, use your backup codes to gain access.
Step 5: Finalize Setup
Once you’ve logged into your Google account, you can complete the initial setup. You’re now free to access your device as usual.
Troubleshooting Common Problems
If you encounter any issues during these steps, here are some common solutions:
- No WiFi Connection: Ensure your WiFi network is stable and your device can access it.
- Language Options Not Displaying: If you can’t see the language options clearly, try adjusting the display settings or restarting the device.
- Verification Fails: Double-check the account credentials you are entering and ensure that Caps Lock is not enabled.
Conclusion
Bypassing FRP on your Oppo A17K (Cpha 2471i) doesn’t have to be a daunting task. By following the steps outlined in this guide and troubleshooting common issues, you should be able to regain access to your device without too much trouble.
If you found this tutorial helpful, please take the time to like our video, subscribe to our channel, and leave a comment if you have any questions. We’re here to help!
Thank you for watching, and we wish you the best of luck in your FRP bypass endeavor. Stay tuned for more tech tutorials and tips!
Final Thoughts
Bypassing FRP is a skill that, once mastered, can save you time and frustration in future instances. Whether you reset your Oppo A17K or help others who encounter similar issues, you now have the knowledge to tackle this common challenge effectively. Good luck, and remember to stay secure!
#Bypass #FRP #Google #Oppo #A17 #A17K #Account


