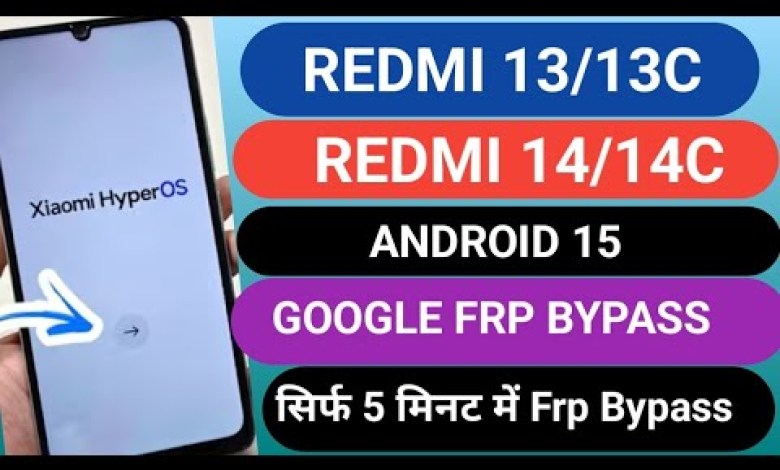
Unlocking Secrets: FRP Bypass for Redmi 13/13C 5G & Redmi 14C 5G Revealed!

redmi 13/13c 5g frp bypass | redmi 14c 5g frp bypass | redmi 13c 5g frp bypass 2025 #9GMobile #frp
Bypass FRP on Latest Android Models: A Step-by-Step Guide
Introduction
In the fast-evolving world of technology, mobile phones have become an integral part of our lives. With constant updates and new features, each model comes with its own set of challenges. One of these challenges is the Google Factory Reset Protection (FRP). In this article, we will discuss how to bypass FRP on the latest models of Android devices. This guide will help you navigate the process easily, ensuring that you don’t miss any crucial steps.
Understanding FRP
What is FRP?
FRP, or Factory Reset Protection, is a security feature introduced by Google to prevent unauthorized access to a device after a factory reset. When you perform a factory reset on your device, it requires the original Google account credentials to set up the device afterward. This is particularly helpful if your device is lost or stolen, ensuring that someone cannot simply wipe the device and use it.
Why Bypass FRP?
There may be several reasons to bypass FRP. Perhaps you’ve forgotten your Google account credentials or purchased a second-hand phone that is still linked to the previous owner’s account. Regardless of the reason, bypassing FRP can be a daunting task, especially on the latest Android models.
Preparation
Gather Required Materials
Before diving into the bypass process, ensure you have the following:
- A SIM card with a POK lock enabled
- A stable internet connection
- A computer (if necessary)
Step-by-Step Process
Step 1: Insert the SIM Card
The first step involves inserting the SIM card into the device. Once you insert the SIM card, the device should prompt you for a POK code. Make sure to complete this step accurately, as missing it might require you to restart the entire process.
Step 2: Turn off the Screen Light
Next, you need to turn off the screen light. This step is crucial as the screen brightness can interfere with the visibility of the options you are about to access. Once the screen light is turned off, proceed to remove the SIM card.
Step 3: Access the Calendar
After removing the SIM card, a calendar interface should appear along with the date and time. Click on the calendar icon to proceed. This step may vary slightly depending on your device model, but it generally involves clicking on the displayed date.
Step 4: Follow the Bypass Process
While the video tutorial provides visual guidance, it is essential to follow the steps meticulously. The process can involve several stages, so pay close attention to every part. Each model may differ slightly, so don’t hesitate to pause and replay sections of the video if necessary.
Step 5: Search for the Active Launcher
After accessing the calendar, the next part of the process requires you to search for the ‘Active Launcher.’ Open the launcher, and you should see an option to install. Click on the install button to proceed.
Step 6: Install and Open the Application
Once installed, an option to open the application will appear. Make sure to click on it. Keep in mind that the appearance of your screen may differ based on your specific model. There might be some confusion regarding different options, but don’t let that discourage you.
Important Tips
- Stay Focused: This process requires complete concentration. If you miss a step, it could mean starting over, which is frustrating.
- Be Patient: Be prepared for any delays or unexpected prompts. This process can be tricky, so don’t rush.
- Consult Multiple Sources: If a particular step seems different from what is shown in the video, don’t hesitate to look for other tutorials for clarification.
Community Support
Engage with Content Creators
Creating video tutorials takes a significant amount of effort. If you find this guide helpful, consider liking the video and subscribing to the channel. This shows appreciation for the hard work put into creating helpful content.
Join Online Forums
Participation in online forums and communities focused on tech can provide additional support. Sharing your experiences and learning from others can guide you through any challenges you may face during the FRP bypass process.
Subscribe for Updates
By subscribing to channels dedicated to Android troubleshooting, you can stay updated on the latest methods and tips for bypassing FRP and other technical issues. This can ease future endeavors, especially when dealing with new models.
Conclusion
Bypassing FRP can be a complex process, but with the right tools and guidance, it becomes manageable. This step-by-step guide aims to simplify the process, allowing you to navigate through it comfortably. Remember to stay focused and patient throughout the procedure.
If you find yourself struggling, don’t hesitate to revisit the video tutorial or seek assistance from the community. Technology is continually evolving, and staying updated can help you tackle future challenges effectively.
Thank you for taking the time to read this guide. If you found it useful, consider sharing with others who may be facing similar issues. Your support makes a difference and encourages the creation of more helpful content. Happy tech troubleshooting!
#redmi #1313c #frp #bypass #redmi #14c #frp #bypass


