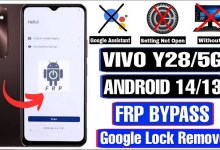
Unlocking Secrets: Bypass FRP on Vivo Y300 5G Running Android 14!
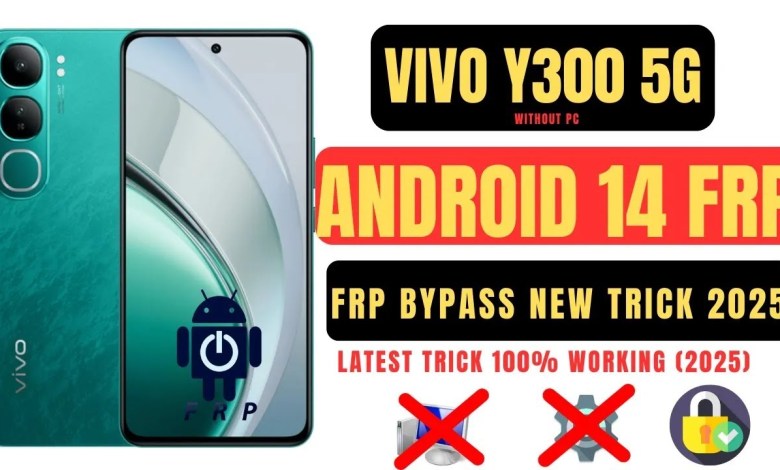
Vivo Y300 5G Frp Bypass | Vivo Y300 5G Android 14 Frp Bypass 2025
Understanding FRP Bypass on Vivo Y35G
In today’s tech-centric world, the need to unlock devices, particularly when it comes to security features like Factory Reset Protection (FRP), has become more common. In this article, we will delve into how to bypass FRP on the Vivo Y35G, a popular smartphone model.
What is FRP?
FRP (Factory Reset Protection) is a security feature designed to protect Android devices from unauthorized access. If an account associated with a device is removed and a factory reset is performed, FRP will require the original Google account credentials upon setup. This prevents unauthorized usage of the phone.
Pre-requisites
Before we get started with the bypass process, make sure you have:
- Your Vivo Y35G.
- Stable Wi-Fi connection.
- A patience level to follow these step-by-step instructions.
Step-by-Step Guide to Bypass FRP on Vivo Y35G
Step 1: Accessing the FRP Lock Screen
- Turn on your device and proceed until you hit the FRP lock screen.
- You will see an icon that indicates FRP is active and it will prompt you to enter the Google Account credentials.
Step 2: Navigation to Accessibility
- Tap the “Hello” option displayed on the screen.
- Now, look for the “Accessibility” setting. Click on it.
- Here, locate “TalkBack”. Enable it by clicking the toggle button.
Step 3: Activate TalkBack
- After enabling TalkBack, you will see an option for TalkBack Shortcuts which you have to ensure is turned on.
- If it’s already on, leave it as is. However, if it is off, make sure to toggle it on.
Step 4: Back to Welcome Screen
- Once you’ve enabled TalkBack, return to the starting screen.
- Click on “Start” and then navigate to the Wi-Fi settings.
Step 5: Setting Up Wi-Fi Connection
- In the Wi-Fi section, click on “Add New Network”.
- Here you will see a generic keyboard. Do not type anything yet.
Step 6: Access the Keyboard Settings
- Keep the keyboard open and press and hold the Volume Up and Volume Down buttons for about 5 seconds.
- After doing this, a “Turn On” message will appear on the screen. Click on this.
Step 7: Re-Activate TalkBack
- Press and hold the Volume buttons again for around 5-6 seconds.
- This will again trigger the TalkBack feature.
Step 8: Perform Actions Using TalkBack
- Using TalkBack, now navigate by making a gesture in an “L” shape.
- A feature labeled “Screen Search” will pop up. Double tap on this option.
Step 9: Open Keyboard and Leave
- Once the keyboard appears, a new icon will show up.
- Double-tap this icon, and then tap on “Leave Keyboard”.
Step 10: Closing Windows
- Make sure to close unnecessary windows by tapping on the Close option.
- If a new window pops up, confirm it by selecting “Allow”.
- This will reopen your keyboard with new icons available.
Step 11: Final Setup
- Proceed to click the rest of the options available on your screen.
- Follow the on-screen instructions to either set up the device as new or restore backups.
Conclusion
Bypassing FRP can be a challenging task, especially for those unfamiliar with accessing device settings. It is crucial to ensure you have the necessary prerequisites beforehand. The above steps are intended for educational purposes—remember to respect user privacy and avoid unauthorized access to others’ devices.
As you delve into these procedures, keep in mind the importance of securing your account details. Post-bypass, make sure to set strong passwords and consider using additional security measures like two-factor authentication.
Disclaimer
This guide is intended for information purposes only. Ensure that you have the owner’s consent before attempting to bypass FRP on any device. Unauthorized access could lead to legal ramifications.
Now that you are aware of how to bypass FRP on the Vivo Y35G, you can find all the necessary steps compiled in one place for your convenience. Happy navigating!
#Vivo #Y300 #Frp #Bypass #Vivo #Y300 #Android #Frp
