Curious about Bypassing FRP on Vivo Y12s with Android 11? Dive into Part 2 of the process! #vivo
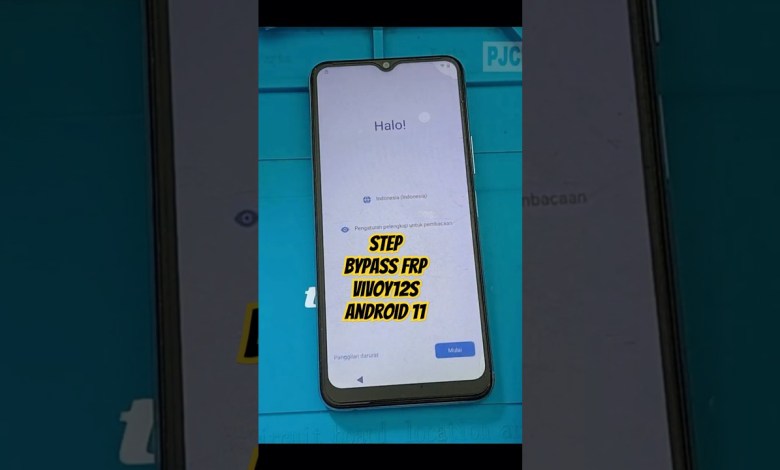
Bypass FRP Vivo Y12s Android 11 #Part2 #vivo #androidfrp #bypassfrp
Using Braille Keyboard with TalkBack Disabled
Today, we are going to learn how to use a braille keyboard with TalkBack disabled on an Android device. This can make it easier for individuals who rely on braille to navigate and interact with their device. Let’s get started!
Step 1: Turn on Braille Keyboard
The first step is to turn on the braille keyboard. To do this, go to Settings and enable the braille keyboard under the Accessibility menu. Once you have done this, you are ready to use your braille keyboard.
Step 2: Enter Settings
Now, it’s time to enter the Settings menu. Use your braille keyboard to navigate to the Settings option and press Enter.
Step 3: Activate Braille Keyboard
Once inside the Settings menu, activate the braille keyboard by selecting it and pressing OK. This will ensure that your braille keyboard is ready for use.
Step 4: Navigate to Start Page
Now, let’s navigate to the start page using your braille keyboard. Simply tap the Next button until you reach the start page.
Step 5: Select Network Options
Next, select the Network options by tapping on the screen. Choose the “View All Networks” option and then select “Add New Network”.
Step 6: Choose Network
Once you have added a new network, choose the network you want to connect to from the list. This will allow you to connect to the desired network using your braille keyboard.
Step 7: Connect to Network
Finally, connect to the selected network by entering the password using your braille keyboard. Once connected, you can start using the network on your Android device.
With these simple steps, you can easily use a braille keyboard with TalkBack disabled on your Android device. This can make it more convenient for individuals who prefer using braille as a means of communication. Thank you for watching!
#Bypass #FRP #Vivo #Y12s #Android #Part2 #vivo
