Discover How to Easily Bypass FRP on Vivo Y21 V2111 in Just One Click Using DFT Pro
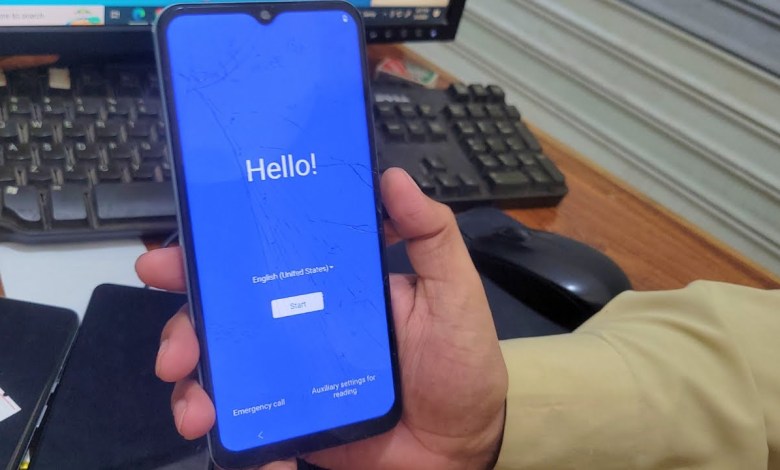
Vivo Y21 V2111 FRP Bypass One Click With DFT Pro || vivo v2111 frp bypass || vivo y21 frp bypass
HTML Headings:
The Complete Guide to Setting up FRP Google 2 or DFT Pro on Your Device
Introduction
FRP Google 2 or DFT Pro is a security feature that requires you to verify your identity using your Google account. In this article, we will guide you through the process of setting up FRP Google 2 or DFT Pro on any device.
Step 1: Open the Device
The first step is to open the device you have FRP or DFT Pro installed on. Once you have done that, navigate to the settings and go to the FRP or DFT Pro section.
Step 2: Reset FRP
After entering the FRP or DFT Pro section, you will need to reset the FRP by clicking on the “Reset FRP” option. This will start the process of setting up FRP Google 2 or DFT Pro on your device.
Step 3: Volume Up and Volume Down
Next, you will need to press and hold the Volume Up and Volume Down buttons simultaneously and connect the cable. Once this is done, we will not touch the device for the rest of the process.
Step 4: Wait for Account Pass
If the process has been successful, we will not need to touch the device anymore. If the process fails, we will need to try again until we get the Account Pass message.
Conclusion
Setting up FRP Google 2 or DFT Pro can be a bit tricky, but if you follow the steps outlined in this article, you should be able to do it successfully. Remember to like the video and subscribe to the channel if you found this information helpful.
—
The process of setting up FRP Google 2 or DFT Pro on your device can be a bit complex, especially if you are not familiar with the steps involved. However, with the right guidance, you can easily navigate through the process and ensure that your device is secure and protected.
The first step in setting up FRP Google 2 or DFT Pro on your device is to open the device and navigate to the settings. Once you have located the FRP or DFT Pro section, you will need to reset the FRP by clicking on the “Reset FRP” option. This will start the process of setting up FRP Google 2 or DFT Pro on your device.
After resetting the FRP, you will need to press and hold the Volume Up and Volume Down buttons simultaneously and connect the cable. This step is crucial for the successful setup of FRP Google 2 or DFT Pro on your device. Once this is done, you will need to wait for the Account Pass message to appear on your device.
If the process is successful, you will have successfully set up FRP Google 2 or DFT Pro on your device. However, if the process fails, you will need to try again until you get the Account Pass message. It is important to follow the steps carefully and ensure that you do not skip any of the required actions.
In conclusion, setting up FRP Google 2 or DFT Pro on your device is an essential step in ensuring the security and protection of your device. By following the steps outlined in this article, you can successfully set up FRP Google 2 or DFT Pro on your device and rest assured that your device is secure and protected. Remember to like the video and subscribe to the channel for more helpful information on setting up security features on your devices.
#Vivo #Y21 #V2111 #FRP #Bypass #Click #DFT #Pro
