

Vivo S1 Pro FRP Bypass With Chimera Tool || vivo s1 pro frp bypass || vivo s1 pro frp android 12
Vi1 Smartphone Review
Introduction
Hey guys! Today in this video, we have the Vi1 smartphone which I have unboxed because we will be testing its performance. We will be bypassing the FPR of this smartphone. So, let’s first power it off by disconnecting the battery. Once we disconnect the battery, check the camera’s direct point under the camera. If the camera grille is okay, remove it.
If everything looks fine, then this is the last point before we show you the direct touch point. So, if the touch point looks fine, you can apply the touch paint. Once we open it and check the counter, I’ve explained the program we created for the counter.
There is no need to fill the glass inside the counter. I have opened the counter and now we will apply the test point and connect the cable. Remove it from the outside and insert the battery like this. It has been properly completed. Click on the remove button.
The error has been removed and if you don’t have a camera pro, you can do it with an unlock tool as well but it is not available with us. Watch the video, like, and subscribe to the channel. The phone is now on and we will move forward with the Hindi language.
Testing
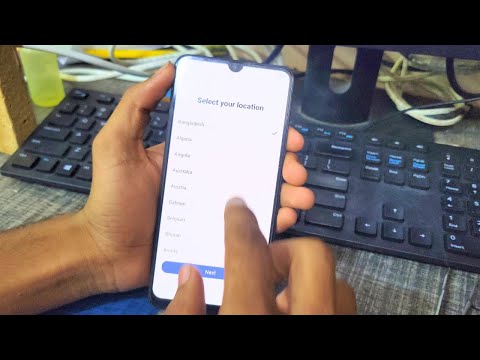
It has booted up and the Hindi language has been set. Let’s proceed with the testing.
Step 1: Disconnect the Battery
As explained in the video, the first step is to disconnect the battery to power off the device. Make sure to follow the instructions carefully to avoid any damage.
Step 2: Check the Camera
Inspect the camera direct point under the camera to ensure everything is fine. Remove the camera grille if needed for a thorough check.
Step 3: Apply Touch Paint
If the touch point looks fine, apply the touch paint carefully to fix any issues with the touchscreen functionality.
Step 4: Test Point Application
Open the device and check the counter as mentioned in the video. Apply the test point and connect the necessary cables to proceed with the testing.
Step 5: Reassemble the Device
Once the testing is completed and everything is working fine, reassemble the device by inserting the battery correctly. Make sure all the components are in place before turning on the device.
Conclusion
In conclusion, the Vi1 smartphone has undergone the testing process successfully and is now ready for use. Follow the steps mentioned in the video to ensure the proper functioning of the device. Subscribe to the channel for more tech-related content and stay updated with the latest smartphone reviews.
#Vivo #Pro #FRP #Bypass #Chimera #Tool #vivo #pro