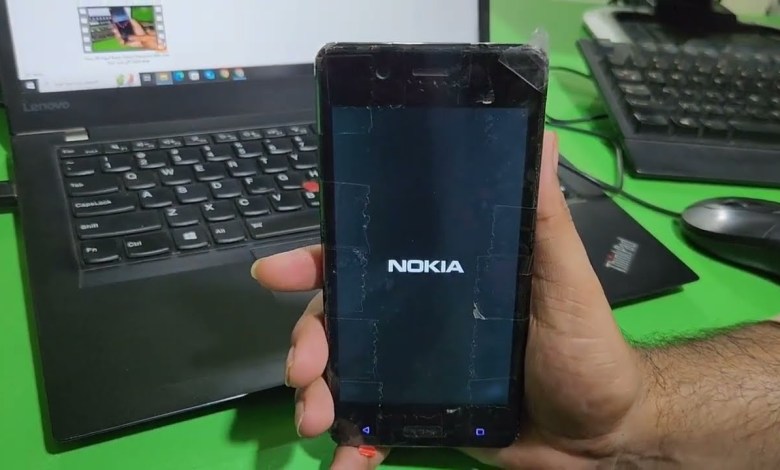
Unlock Your Nokia 5 TA-1053: Discover the Easy FRP Bypass Method Without a PC!

Nokia 5 TA-1053 FRP BYPASS Without PC | nokia ta-1053 frp bypass | nokia 5 frp bypass
Nokia TA 1053 Google Account FRP Bypass Guide
The Nokia TA 1053 is a popular smartphone model that runs on Android, specifically Android 9 and below. If you find yourself locked out of your device due to a Google Account FRP (Factory Reset Protection) lock, this guide will walk you through the process of bypassing it step by step.
Understanding FRP Lock
FRP is a feature designed to secure your device. It prevents unauthorized access if someone tries to reset your phone without permission. While this is beneficial for users, it can also pose challenges when you’re unable to access your account.
Pre-requisites
Before we begin, ensure you have:
- The Nokia TA 1053 device
- Internet connection (Wi-Fi)
- A secondary Google account (to bypass)
Step 1: Change Language Settings
- Turn on your Nokia TA 1053.
- When the setup screen appears, you’ll need to change the language.
- Select the language option, look for "पी" (or any desired language).
- Once you have done this, proceed to the Emergency Call section.
Step 2: Access the Emergency Call Feature
- Click on the Emergency Call option.
- Wait patiently as the device may take a moment to respond.
- You will be prompted to enter a number. You can enter any number here.
Step 3: Navigate Through Settings
- Now hit the Emergency Information button again.
- Click on the language option.
- Tap the three dots (⋮) located in the upper right corner.
- Select About Phone from the dropdown.
Step 4: Share Option
- Once you are in the About Phone section, look for the Share option.
- When the share menu opens, select Gmail.
- At the bottom of the options, tap on your Gmail account or create a new one if necessary.
Step 5: Enter a New Gmail Account
- You need to add a new Gmail account (it can be any account).
- Type in the email address (example: example@gmail.com).
- Select Manual Setup when prompted.
Step 6: Configure Account Settings
- Choose the Exchange option from the setup.
- Click on the blue color button to proceed.
- Wait for the device to respond.
Step 7: Create a Pattern Lock
- You will be prompted to set a new pattern lock.
- Make sure to remember this pattern as it will be essential for later use.
- After confirming your pattern, click Continue.
- If prompted, skip the fingerprint option.
Step 8: Restart Your Device
- Press the power button to restart your phone.
- Be patient as the phone boots up. This might take a minute.
Step 9: Set Up Your Device
- After the device is fully on, you will need to input the pattern lock you previously set.
- Follow the on-screen prompts to continue the setup process.
- Reconnect to your Wi-Fi network when necessary.
Conclusion
By following the steps outlined in this guide, you can successfully bypass the Google Account FRP lock on your Nokia TA 1053. Remember, FRP is a security feature that is helpful in protecting your device from unauthorized access. Use this procedure responsibly and only on devices that you own.
Important Notes
- Ensure you have a backup of your important data as some steps may result in data loss.
- This process may void your warranty. Proceed at your own risk.
If you encounter any difficulties during the process or if the device behaves unexpectedly, consult with a professional technician for assistance.
#Nokia #TA1053 #FRP #BYPASS #nokia #ta1053


