Unlocking Secrets: Bypass FRP on Tecno Camon 18 (CH6h) Running Android 12!
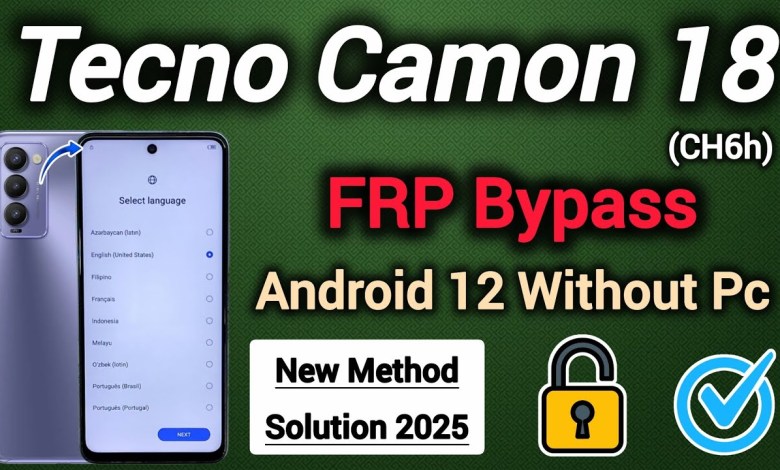
Tecno Camon 18 ( CH6h) || FRP Bypass || Android 12 || Activity Launcher Not Work || Without Pc 2025.
Unlocking FRP Lock on TNO CON 18: A Step-by-Step Guide
Hello Friends, Welcome to My Channel Shiv Mobile Tech Plus. Today, I bring you a valuable tutorial on how to unlock the FRP lock on the TNO CON 18. This process is necessary because the device is locked with a Google account, and we will need to bypass it to gain access. Let’s get started.
Understanding FRP (Factory Reset Protection)
Before we dive into the unlocking process, let’s discuss what FRP is.
FRP, short for Factory Reset Protection, is a security feature that Google implemented for Android devices to safeguard user data. When this lock is activated, users must enter the Google account credentials that were previously synced with the device after a factory reset. If you have access to those credentials, you can easily unlock the phone. However, if you don’t, you will need to follow some specific steps to bypass this lock.
Initial Setup Process
Step 1: Language Selection
First, let’s select the language. As the TNO CON 18 starts up, you will be greeted with a language selection screen. Here, choose “English” to proceed.
Step 2: Region Settings
Next, you’ll need to set the region. In this case, select “India” from the list of available regions, then click “Next.”
Step 3: SIM Card Requirement
Now, if your phone does not have a SIM card installed, you can skip this step. However, if you do have a SIM card, it’s advisable to insert it for connectivity. For the purpose of this guide, we’ll be skipping the SIM card setup.
Connecting to Wi-Fi
Step 4: Wi-Fi Network Connection
Connecting to a reliable Wi-Fi network is crucial for the next steps. Choose any available Wi-Fi network and enter the password to get connected.
Connecting to Wi-Fi
Enter your Wi-Fi password and tap on “Connect”. Once connected, the device should automatically proceed to the next step.
Navigating Through the Setup
Step 5: Wait for Automatic Progression
Once connected, the device will begin to progress automatically. You might see a loading symbol; just be patient.
Step 6: Next Steps
After a brief wait, continue to click “Next”. You may have to wait for an additional minute for the next options to show up.
Engaging with the Audience
Viewer Interaction
As we wait for the next options, let’s engage with the audience a bit.
Your Thoughts Matter
How is the video so far? Please let me know by leaving a comment. If you find the content helpful, don’t forget to give it a thumbs up and share it with your friends. If you are new to my channel, please subscribe and hit the bell icon so you get notified when I upload new content.
Continuing with the FRP Unlock
Step 7: Steps to Bypass the FRP Lock
After a short wait, the next option will appear. It is crucial to follow the upcoming steps exactly as stated.
- Tap on “Next.”
- Agree to the Terms and Conditions. Ensure you read through them if possible and then proceed.
- There may be a prompt asking for your Google credentials. This is where the FRP lock is enforced.
Step 8: Bypassing the Lock
- Select the “Emergency Call” option.
- Dial specific codes that can help bypass this screen. (This varies based on your device, so ensure you research the correct codes).
- You will be directed to a new screen, allowing you to reset or alter settings.
Bypassing FRP Lock
Remember, the codes and exact methods can differ, so perform thorough research before proceeding.
Important Reminders
Considerations and Precautions
Before moving forward, please note:
- Using these unlocking methods may void any warranties or violate terms of service. Always proceed with caution.
- Make sure the methods don’t involve any illegal activities. It is essential to own the device outright and ensure that you are complying with your country’s laws.
Step 9: Completing the Setup
After successfully bypassing the FRP lock, continue through the setup process.
- You may have to create a new Google account or log in with an existing one.
- Complete the rest of the setup—personalize your device settings and preferences.
Conclusion
Congratulations! You have successfully unlocked the FRP lock on your TNO CON 18.
Final Thoughts
If you found this video helpful, please like and share it. Also, subscribe to Shiv Mobile Tech Plus for more incredible tutorials, tips, and tricks.
Stay Updated!
Hit the bell icon so you won’t miss any of my future videos! Thank you for watching, and see you next time.
I hope this guide was useful to you. If you have any questions or need further assistance, feel free to ask in the comments below.
Remember, unlocking devices can be tricky, so always stay informed. Happy unlocking!
#Tecno #Camon #CH6h #FRP #Bypass #Android
