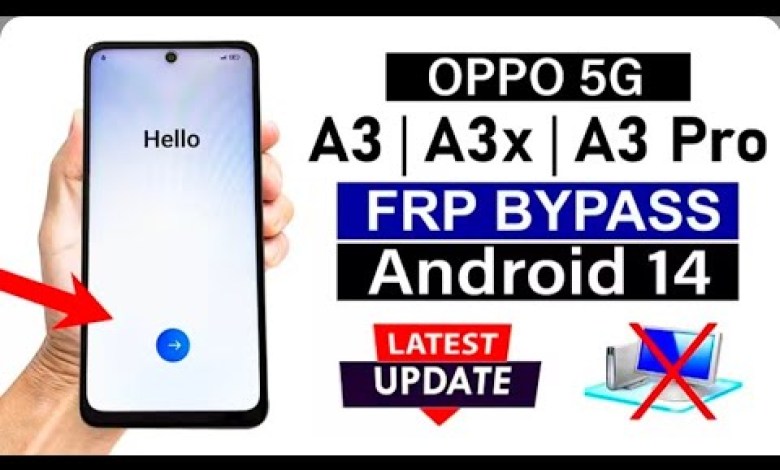
Unlocking Secrets: Bypass Google Account/FRP on OPPO A3/A3x/A3 Pro 5G!

OPPO A3/A3x/ A3 Pro 5G: Google Account/FRP Bypass – ANDROID 14 (Without Pc)
How to Bypass FRP on Oppo A3: A Step-by-Step Guide
Introduction
Hello friends, welcome back to my YouTube channel! Today, we are going to tackle a common issue for many smartphone users: bypassing the FRP (Factory Reset Protection) on the Oppo A3. If you’ve recently reset your Oppo A3 and are stuck at the Google Account verification screen, don’t worry; I’m here to guide you through the process.
In this article, we’ll cover each step in detail so that you can follow along easily. Let’s get started!
Overview of FRP
Before jumping into the bypass process, let’s briefly discuss what FRP is and why it exists.
FRP is a security feature introduced by Google to protect user data. When a device is factory reset, it requires the previous Google account credentials to ensure that unauthorized users cannot access the device. While this is a useful security measure, it can become problematic if you forget your credentials or buy a second-hand device that is still linked to someone else’s account.
Prerequisites
Before we start the bypass process, make sure you have the following:
- An Oppo A3 device
- A stable Wi-Fi connection
- Basic knowledge of using Android devices
Step 1: Initial Setup
When you first power on your Oppo A3 after a factory reset, you’ll see the welcome screen.
- Select Your Language: Choose your preferred language from the options available.
- Tap on ‘Start’: Once you’ve selected your language, tap on the ‘Start’ button to begin.
Step 2: Choosing Your Country
- Select ‘India’: When prompted, select ‘India’ as your country.
- Next: Tap ‘Next’ to proceed.
Step 3: Connect to Wi-Fi
You need to connect to a Wi-Fi network to bypass the FRP.
- Connect to Wi-Fi: Choose your Wi-Fi network and enter the password.
- Next: After successful connection, tap ‘Next’.
You’ll see a message indicating that the device is processing. Please allow 1-2 minutes for this process.
Step 4: Navigating Setup Options
- Skip Options: At certain screens, select ‘Skip’ for options when prompted, such as data transfer and Google services.
- Don’t Copy: When asked to restore your data, you can also select ‘Don’t Copy’.
Step 5: Bypass the Lock Screen
Now, you’re at the screen where you need to enter the Google account password.
- Tap on the “Back” button: Go back to the Wi-Fi connection screen.
- Wi-Fi Option: Click on the Wi-Fi name you are connected to.
Step 6: Sharing Options
- Click on ‘Share’: After tapping on your Wi-Fi network, you will see an option to share it.
- Select ‘Send via’: You will find an option to send the Wi-Fi connection details.
Step 7: Access Settings
- Click on the Three Dots: You’ll see three dots at the top-right corner of the sharing screen. Click on them.
- Select ‘Settings’: This will take you to the settings menu of your device.
Step 8: Open the Browser
- Navigate to Settings: Scroll down until you find the option to open a web browser.
- Use Chrome: Open the Chrome browser from there.
Step 9: Search for Necessary Files
- Search for ‘VN ROM’: Type “VN ROM” in the search bar and hit enter.
- Download Necessary Files: Choose the appropriate link that allows you to download needed files for further steps.
Step 10: Follow Further Instructions
Once you’ve accessed the link, follow the on-screen instructions to install the files necessary for bypassing FRP.
- Install the APK: After downloading, install the required APK file by following the prompts.
- Open the Application: Once installed, locate the app in your menu and open it.
Step 11: Final Setup Steps
- Navigate to Settings Again: Return to settings through the app.
- About Phone: From settings, travel to ‘About Phone’ to verify your device.
Conclusion
Congratulations! You have successfully bypassed the FRP on your Oppo A3.
Word of Caution
While bypassing FRP can help access your device, it’s essential to understand the implications of bypassing security features. Always ensure that you have the legal right to perform such an action on the device.
Subscribe for More
If this guide helped you, please consider subscribing to my channel for more tech tutorials and tips. Your support means a lot!
Thank you for watching, and I’ll see you in the next video!
This article aims to provide you with a complete and detailed guide to bypass FRP on the Oppo A3. Should you face any issues, feel free to leave your questions in the comments section. Happy bypassing!
#OPPO #A3A3x #Pro #Google #AccountFRP #Bypass


