Unlocking Secrets: Discover the Latest Vivo Y21 FRP Bypass Methods!
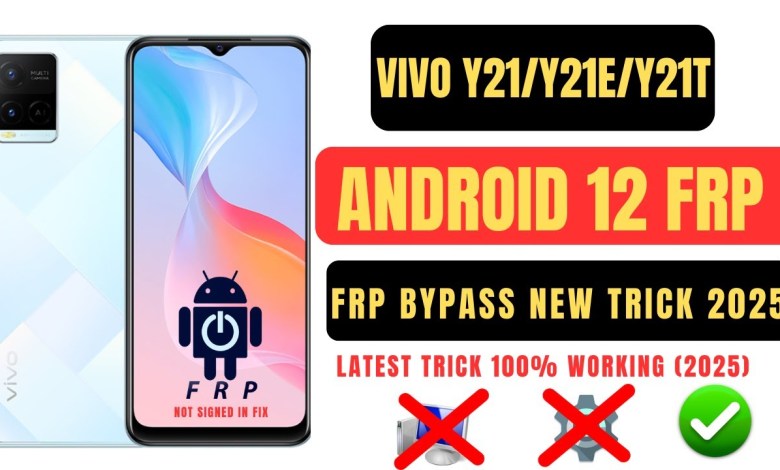
Vivo Y21 Frp Bypass Vivo | Y21 Frp Bypass Latest Version 2025
Vivo Y21 FRP Bypass Guide
Welcome to our comprehensive guide on bypassing the Factory Reset Protection (FRP) on the Vivo Y21 device. If you’re facing the "Not Signed In" error, don’t worry — this guide will walk you through the necessary steps to resolve it and get your device up and running.
Understanding FRP
Factory Reset Protection (FRP) is a security feature that Google implemented for Android devices to protect your personal information. If your device is reset, the FRP will require you to log in with the Google account previously synced on the device. If you cannot do this, you’ll be locked out until you can sign in.
Requirements for Bypassing FRP
Before we begin, ensure you have the following:
- A Vivo Y21 device
- Access to Wi-Fi
- Basic understanding of Android settings
Let’s dive into the steps!
Step 1: Initial Setup
Power On Your Vivo Y21
- When you power on your device, you will likely land on the setup screen. It’s here that you might encounter the "Not Signed In" error.
- Preparing Setup
- Wait for the “Preparing Setup” message to appear, and don’t be alarmed if it goes off after a few moments.
Step 2: Accessing Accessibility Settings
Navigating to Accessibility
- On the setup screen, you need to enable the TalkBack feature.
- To do this, tap on the screen multiple times until you reach the accessibility menu.
Turning On TalkBack
- Select the TalkBack feature and toggle it on. This feature will help you navigate your device more efficiently during the bypass.
- Accessing TalkBack Settings
- Once TalkBack is enabled, you’ll have the option to configure settings. Tap on the TalkBack Settings option.
Step 3: Using the Keyboard
Accessing the Keyboard
- Look for a keyboard option within the TalkBack settings, and double-tap it to open.
Navigating to the Setup Menu
- You’ll see a Settings option. Tap on it twice to access the settings menu.
- Enabling the Keyboard for TalkBack
- In the settings menu, you should find another option related to the TalkBack keyboard. Enable this setting.
Step 4: Back to the Setup
- Closing TalkBack Settings
- Once the keyboard is enabled, navigate back by tapping the back button on your device until you’re back on the setup screen.
Step 5: Wi-Fi Connection
Connect to Wi-Fi
- Hit the Start button and progress to the Wi-Fi section.
- Here, you should see a list of available Wi-Fi networks.
Accessing Advanced Wi-Fi Options
- Tap on Add New Network, which will allow you to enter a new network name.
- Using the Spacebar
- While typing, you will notice an option to access the TalkBack keyboard. Click on it.
Step 6: Turning on Accessibility Menu
Enabling Accessibility Menu
- After clicking on the keyboard option, a settings menu will appear. Select the Turn on Accessibility option.
- Confirm the Action
- You will now see the Accessibility Menu. Click on it and turn it on.
Step 7: Accessing Google Assistant
Finding Google Assistant
- Navigate to the Google Assistant option within the accessibility menu.
- Using Voice Commands
- Here, you can type or use voice commands to access different functionalities.
Step 8: Completing the Bypass
Finalizing Settings
- Ensure all settings are confirmed, and follow any prompts that appear.
- Reboot the Device
- Restart your Vivo Y21 device to save the changes made during the bypass process.
Additional Tips
- Patience is Key: These steps may take time; be patient and follow the instructions carefully.
- Double-Check: Always ensure that your connections (like Wi-Fi) are stable before starting the bypass.
- Backup Important Data: If possible, back up any important data before attempting a bypass to avoid potential data loss.
Conclusion
By following these steps, you should be able to bypass the Factory Reset Protection on your Vivo Y21 device successfully. Now you can make your device usable once again. If you encounter any additional issues or errors, feel free to refer back to this guide or seek assistance from a professional.
Thank you for following our guide, and happy setting up!
#Vivo #Y21 #Frp #Bypass #Vivo #Y21 #Frp #Bypass #Latest
