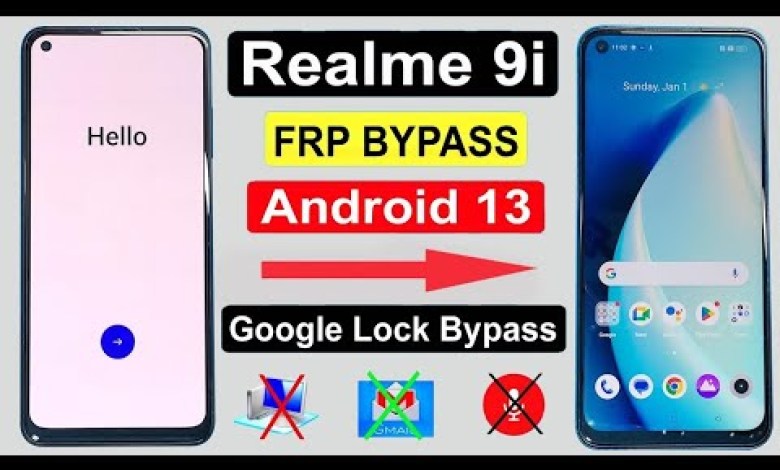
Unlocking Secrets: How to Bypass FRP on Realme 9i (Android 13) and 9i 5G!

Realme 9i FRP Bypass Android 13 | Realme 9i 5G (RMX3612) Google Account Bypass | Realme RMX3491 FRP✅
Unlocking FRP Lock on Realme 9: A Comprehensive Guide
Introduction
Hello guys! Today, we will discuss a common issue many users face when they receive a new smartphone: the Factory Reset Protection (FRP) lock. We will specifically focus on the Realme 9 model. If you’re having trouble unlocking your Realme 9 due to FRP, don’t worry; follow this guide and you’ll be up and running in no time!
Step 1: Initial Setup
When you first power on your Realme 9, you’ll get to the startup screen.
- Select Language: The first step is to select your preferred language. Typically, it’s recommended to choose English for broader support.
- Proceed: After selecting your language, click on "OK" and then select "Continue."
- Next Steps: You will see a series of prompts; you need to click “Next” for each one.
Step 2: Connect to Wi-Fi
Next, you will be asked to connect to a Wi-Fi network.
- Select Your Network: Tap on your Wi-Fi network and enter the password.
- Establish Connection: Once connected, look for the three dots on the screen.
Step 3: Using Nearby Share
Now, you will utilize the Nearby Share feature:
- Click on Share: Choose the option for “Share.”
- Activate Nearby Share: Confirm by clicking on “OK” when prompted to enable the feature.
- Allow Permissions: You will need to allow all necessary permissions.
Step 4: Access Legal Help
- Send Feedback: Look for the option that mentions "Send Feedback" and click on the middle option that corresponds to "30." This will allow you to access legal help.
- Navigate to YouTube: Click on the YouTube link that shows up.
Step 5: Check for YouTube Updates
You might receive a prompt indicating that your YouTube app needs to be updated.
- Cancel Prompt: If prompted for an update, click "Back."
- Choose No Thanks: When asked about updating, opt for "No Thanks."
Step 6: Search for ‘Add ROM’
- Search for Add ROM: In the search bar, type "Add ROM."
- Select the First Site: Click on the first result that appears.
Step 7: Removing Existing Settings
Now that you are on the Add ROM site, it’s time to dive into the settings.
- Open Settings: Navigate to the settings on your phone.
- Model Check: Ensure your model is displayed correctly as Realme 9i. This step is crucial to avoid issues later.
- Additional Settings: Go to the “Additional Settings” section.
Step 8: Factory Reset
- Backup and Reset: You will need to find the “Backup and Reset” option. If it doesn’t appear, try checking other sections related to device maintenance.
- Display Settings: If the previous option isn’t available, attempt to go into “Display Settings.”
- Layout Settings: Look for layout configurations related to your home screen.
Step 9: Cloning Apps
Now, you will use the Clone App feature.
- Search for Clone App: In your settings, search for the "Clone App" feature.
- Check Permissions: Agree to the necessary permissions if prompted.
- New Phone Setup: Select the option for your new phone and choose “Other Android.”
Step 10: Barcode Scanning
Before proceeding, you will need another phone.
- Generate Barcode: A barcode will be generated on your screen.
- Use Another Phone: The second phone will be used to scan this barcode.
Conclusion
Following these steps will help you successfully unlock the FRP lock on your Realme 9 device. While the process may appear complicated, taking it one step at a time will make everything manageable. Combined, these techniques not only assist in bypassing the FRP lock but also allow you to set up your phone according to your preferences.
If you found this guide helpful or have any questions, feel free to leave a comment. Happy unlocking!
#Realme #Frp #bypass #Android #Realme


