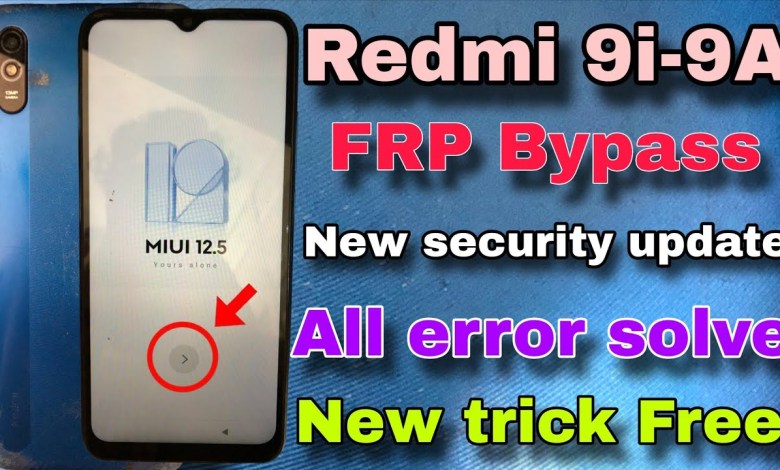
Unlocking Secrets: How to Bypass FRP on Redmi 9A & 9i Without a PC!

Redmi 9A FRP bypass without PC | Redmi 9i-9A google account bypass | New security update | MiUI 12.5
How to Bypass FRP Lock on Redmi 9A
Hello friends! Welcome to our YouTube channel. Today, we have the Redmi 9A device with us. In this video, I’ll guide you through the process of bypassing an FRP (Factory Reset Protection) lock that can occur when a Google account is linked to this device. Let’s jump right into it!
Understanding FRP Lock
FRP lock is a security feature that Google introduced to protect your device and data. If your Redmi 9A is factory reset, it will prompt you to verify the Google account that was previously synced. If you can’t recall the email ID, don’t panic! I will walk you through the steps to bypass this issue.
Initial Setup
First, let’s start the device. As you can see, the lock symbol is displayed on the screen.
Connect to Wi-Fi:
Make sure you have connected your device to Wi-Fi. You will be prompted to do this before proceeding.Navigating the Setup:
After connecting to Wi-Fi, click on "Next." You’ll find an option that reads "Don’t Copy," select that.Verify Email ID:
Now, the phone will prompt you to input a verification PIN for the Google account that was previously synced. If you don’t remember it, simply enter any random digits; it won’t be accepted.- Accessing the Bypass Options:
Here, you need to tap on "Use My Account." Once you click on this, the device will display "Verify Your Account," asking for an email ID.
How to Bypass FRP Lock
Since we don’t remember the email ID, let’s find a way to bypass this screen.
Go Back:
Use the "Back" option to return to the Wi-Fi settings.Continue Returning Back:
Continue pressing the "Back" button until you reach the options presenting your device’s version. Here, you will see that the version is MIUI 12.5.Navigate Back:
Again, hit "Next." There will be options to accept terms and conditions. You should check the boxes and proceed by clicking "Next" followed by "Skip" as necessary.- Setting a Screen Lock:
You won’t be prompted for a screen lock in this new version, so return back to the Wi-Fi connection settings.
Editing Network Information
Add New Network:
Click on "Add Network." Here, input any random text; this is just to gain access to more options. After typing, hold the send button.Accessing the Share Menu:
You will now see an option to "Share." Long press on "Share Me," and an additional menu will pop up.- Additional Phone Requirement:
For the next step, make sure you have another phone handy. You’ll need to use this second phone for file sharing.
Installing Apps
Use the Second Phone:
With the second phone, use a file manager or share an APK link directly via Share Me. This can be an APK file for Google or any other necessary application you need for bypassing.Accessing the APK:
Once it’s shared successfully, open it in the Redmi 9A device. Follow the installation steps as prompted.- Final Steps:
After successfully installing the app, you should be able to access the settings and eventually, the Google account settings.
Completing the Setup
After bypassing the FRP lock, now you can proceed with the initial setup of your device. Make sure to set up a new Google account if needed.
Final Configuration:
Go through all the steps: terms of service, settings, etc. Ensure everything is set up as you desire.- Reboot Your Device:
Once everything has been set up correctly, it’s a good idea to reboot your device. This ensures that all changes are applied effectively.
Conclusion
In closing, we’ve successfully bypassed the FRP lock on the Redmi 9A. Always remember to keep your Google account credentials secure to avoid facing issues like this in the future. If you found this video helpful, don’t forget to hit the like button and subscribe for more tech-related solutions and tutorials!
Thank you for tuning in, and see you in the next video! Happy tech exploring!
#Redmi #FRP #bypass #Redmi #9i9A #google


