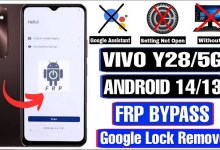
Unlocking Secrets: How to Bypass FRP on Vivo Y200 with Android 15 – Complete Guide for All Vivo Models!
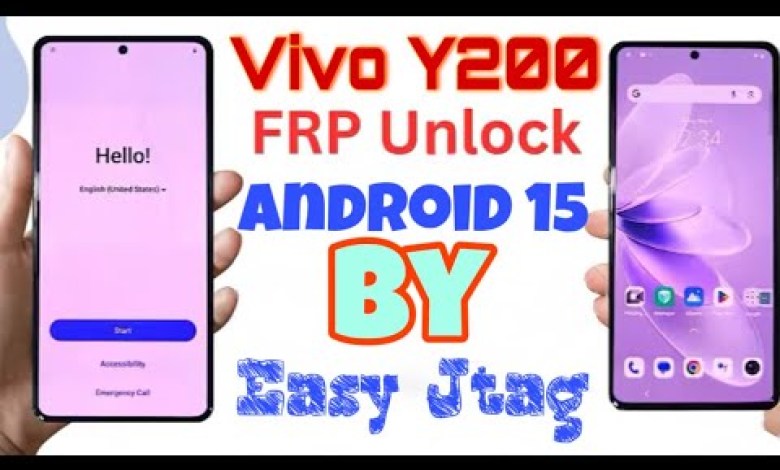
Vivo Y200 Frp Bypass Android 15 || All vivo frp unlock android 15 || T3 Frp unlock android 15
Unlocking FRP on Vivo Y200 with Android 15 Using JTAG Box
Introduction
नमस्कार जय श्री राम दोस्तों! Welcome to our YouTube channel सॉफ्टवेयर फिक्स ऑफिशियल. Today, we’re diving into the process of unlocking the FRP (Factory Reset Protection) on the Vivo Y200, which has been installed with Android 15. For this procedure, we will use the JTAG Box.
FRP locks are a security feature that can prevent unauthorized access to your phone, but they can also be a hurdle if you forget your account credentials. Let’s get started!
Checking FRP Lock Status
First, let’s check if the FRP lock is enabled on the device.
- Power On the Device: Turn on your Vivo Y200.
- Accessibility: Navigate to the Settings > Accounts.
- Confirm FRP: If you see an option that requires an account to unlock, then it’s confirmed that the FRP lock is in effect.
Warning
This process requires careful handling. If you’re not familiar with hardware modifications, please proceed with caution. If something goes wrong, you could potentially brick your phone.
Preparing the Device
Tools Required
- JTAG Box
- Screws driver
- Heating tool (but be cautious)
- UFS Adapter
Step 1: Opening the Device
Remove Screen Glue: Carefully cut around the edges of the screen using a fine blade or your preferred tool. This step is crucial for an easier disassembly.
plaintext
Note: If you’re not skilled in hardware repairs, reconsider before proceeding.Lift the Screen: Once the glue is cut, gently lift the screen, ensuring you don’t damage any internal connections.
Step 2: Disconnecting the UFS
Use a Scraper: With a delicate hand, utilize a scraper tool to detach the UFS (Universal Flash Storage) from the board.
plaintext
Warning: Do not apply excessive force as it might damage the board’s print.Remove the IC: Once the UFS chip is dislodged, take it out carefully.
Step 3: Cleaning and Reconnecting
- Clean the IC: Ensure that the IC is clean and free from residual glue.
- Connect to JTAG Box: Make sure to align and connect the IC back to the JTAG Box.
Using EJT Tool
Open EJT Tool: Launch the EJT Tool. After successfully opening the tool, you’ll have several options presented in front of you.
Select UFS: Navigate to the top side of the window to select EJT UFS and click on the Connect option.
Connection Confirmation: Once connected, you will see the partitions of the device displayed on your screen.
Removing the FRP Lock
Action Button: Click on the Action button located at the bottom of your screen.
Select FRP Remove: You’ll find an option that says FRP Remove. Click this option to start the unlocking procedure.
Completion: After the process completes, you’ll receive a confirmation message indicating that the FRP has been successfully removed.
Reconnecting UFS to the Board
Fix the UFS Chip: Now, carefully place the UFS back onto the motherboard. Be cautious not to apply excessive heat which could affect the device negatively.
Minimize Heat Application: Remember to use the minimum required heat. Excess can lead to device malfunction.
Finalizing the Process
After successfully reconnecting the UFS:
Power On the Device: Turn your Vivo Y200 back on.
plaintext
Note: If the device does not turn on or shows issues, double-check all your connections.Check Status: Once the device is on, check if the FRP lock has been successfully removed. Go through the settings and attempt to log in to confirm.
Conclusion
Today, we successfully unlocked the FRP on the Vivo Y200 using the JTAG Box and EJT Tool. This is a delicate process that requires specific skills and tools. If performed incorrectly, it could lead to irreversible damage. Always ensure to follow these steps carefully and consider seeking professional help if needed.
Final Thoughts
We hope you found this guide helpful! Don’t forget to subscribe to our channel सॉफ्टवेयर फिक्स ऑफिशियल for more such tutorials on mobile repair and software fixes. If you have any questions or need further assistance, feel free to drop a comment below!
करोड़ों धन्यवाद! जय श्री राम!
#Vivo #Y200 #Frp #Bypass #Android #vivo #frp #unlock

