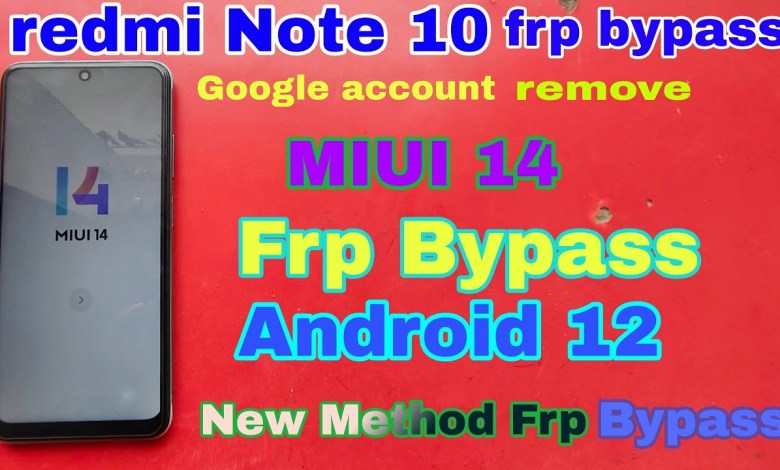
Unlocking Secrets: How to Bypass FRP on Your Redmi Note 10

redmi Note 10 frp bypass,redmi Note 10 frp bypassredmi Note 10 frp bypass 2025
Unlocking Google Account Lock on Redmi Note 10
Introduction
Hello everyone! Today, we have an exciting task at hand. I recently received a Redmi Note 10 that is locked with a Google account. In this article, I will guide you through the process of unlocking it. If you are facing a similar issue with your phone, this guide will help you unlock it from the comfort of your home. Let’s get started!
Understanding Google Account Lock
Before we dive into the unlocking process, let’s understand what a Google account lock is. This security feature is designed to protect your data and prevent unauthorized access to your device. It usually occurs after a factory reset or when switching devices without proper account verification.
Step-by-Step Unlocking Process
Step 1: Completing Setup
Once you turn on the Redmi Note 10, you will see a screen indicating that the setup is complete. However, it will not proceed beyond this point. If you try to continue, you will be redirected back to the setup screen.
Step 2: Connecting to Wi-Fi
To begin the unlocking process, you first need to connect the device to a Wi-Fi network. Here’s how you can do it:
- Navigate to the “Add Network” option on the setup screen.
- Select your Wi-Fi network and enter the password.
- Once connected, you’re ready for the next step.
Step 3: Accessing the Keyboard
After connecting to the Wi-Fi network, tap on the “Add to Network” option:
- Long tap on the Wi-Fi option you just connected to.
- Next, tap on the keyboard icon.
Step 4: Navigating to the Share Option
Once the keyboard appears:
- You will notice an icon on the side. Click on it.
- Scroll down and tap on “More.”
- Then, touch the upper icon displayed on the screen.
Step 5: Sharing the App
Now it’s time to access the sharing feature:
- Tap on the option that allows you to share.
- Confirm the sharing action (“Agree” to all prompts).
Step 6: Using a Second Device
For this process, you’ll need a second phone. Here’s what you should do:
- Open the “Share Me” app on the additional device.
- Click “Next” and enable the necessary permissions.
Step 7: Scanning for Connection
Now it’s time to connect both devices:
- Use the second phone to scan for the first device.
- Once connected, you will be able to share apps between both phones.
Step 8: Sending the Activity Launcher
Once the connection is established:
- On your primary device, tap on the shared connection.
- Navigate to the apps section and locate “Activity Launcher.”
- Send this app to the primary device.
Step 9: Installation of Activity Launcher
After successfully sending the app:
- On your primary device, tap to install it.
- Once installed, click “OK” to proceed.
Step 10: Setting Up the Activity Launcher
Now that the Activity Launcher is installed:
- Navigate to the app and click to open it.
- You will now see the options related to setup.
- Follow the prompts on the screen to continue.
Step 11: Entering the PIN
In the setup menu, enter the required PIN code:
- Make sure you are entering it in English to avoid errors.
- This step is crucial to bypass the lock.
Final Thoughts
And there you have it! By following these steps, you should successfully unlock your Google account on the Redmi Note 10. Each step must be performed carefully to avoid issues. If you encounter any problems or need further assistance, do not hesitate to ask for help.
Conclusion
Unlocking a Google account lock can seem daunting, but with the right steps, it can be easily accomplished. Remember, always keep your device secure and preferably maintain a backup of your accounts and data to avoid such situations in the future.
If this guide was helpful, feel free to share it with others who may be facing similar problems. Happy unlocking!
#redmi #Note #frp #bypassredmi #Note #frp #bypassredmi


