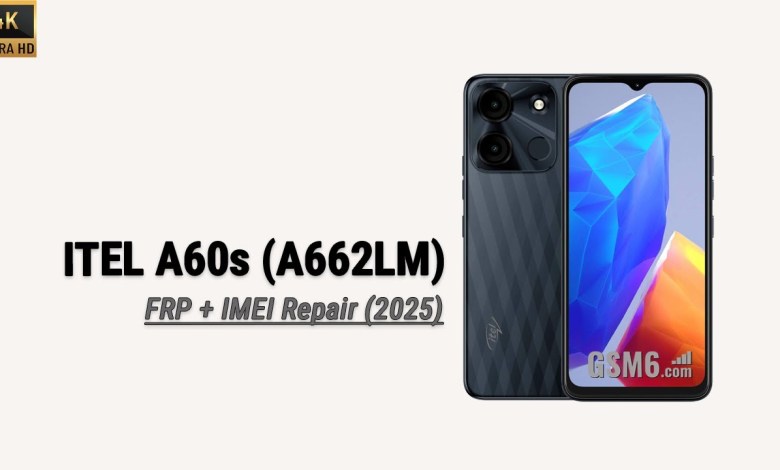
Unlocking Secrets: Itel A60s FRP Bypass & IMEI Repair (A662LM) Revealed!

Itel A60s FRP Bypass & IMEI Repair (A662LM) via Testpoints | Pandora Tool + Other Tools
How to Remove FRP and Repair IMEI on Itel A60s Using Test Point Method
Welcome back to the channel! Today, we’ll dive into a step-by-step guide on how to remove FRP (Factory Reset Protection) and repair the IMEI (International Mobile Equipment Identity) on the Itel A60s using the test point method. If you’re facing connectivity issues with direct methods, this guide is for you!
Understanding FRP and IMEI Repair
Before we jump into the process, let’s briefly understand what FRP and IMEI entail:
FRP (Factory Reset Protection): A security feature introduced by Google to prevent unauthorized access to a device after a factory reset. If you forget your Google account credentials, it can be a challenge to regain access to your device.
- IMEI (International Mobile Equipment Identity): A unique identifier for mobile phones. Sometimes, the IMEI can be corrupted or lost, and users may need to repair it to regain full functionality.
Why Use Test Point Method?
In our initial attempts, we relied on the direct method to unlock FRP and repair IMEI. Unfortunately, our efforts didn’t yield the desired results. The device wasn’t responding satisfactorily, and establishing a reliable connection proved difficult.
After troubleshooting, we made the switch to the test point method—and it worked like a charm! This method involves creating a direct connection to specific test points on the device’s motherboard, enabling proper access and facilitating FRP unlock and IMEI repair effectively.
Tools Required
For this process, I used the Pandora tool, which performed flawlessly. However, there are several other tools you could use, including:
- CM2 (Infinity Chinese Miracle)
- UMT (Ultimate Multi Tool)
- Hydra
- Chimera
Make sure to select the tool that best fits your setup.
Step-by-Step Guide to Removing FRP and Repairing IMEI
Step 1: Gather Your Tools and Equipment
Before beginning, make sure you have:
- The Itel A60s device
- USB cable
- A computer with the selected tool installed
- A multimeter (for test point identification)
- Proper ESD (Electrostatic Discharge) precautions—like an ESD wrist strap—when handling the hardware.
Step 2: Locate the Test Points
Data sheets and diagrams are essential in this procedure. You’ll need to find a test point diagram specific to the Itel A60s. Here’s how to find test points:
- Search Online: Check forums, repair websites, or community groups focused on mobile repairs.
- Use Multimeter: If a diagram isn’t available, you can use a multimeter to trace points on the motherboard.
Step 3: Prepare the Device
- Turn Off the Device: Ensure the Itel A60s is powered off.
- Open the Device: Gently remove the back cover and disconnect the battery if possible.
Step 4: Short the Test Points
Now, for the crucial part:
- Identify the Test Points: Using the diagram, locate the specified test points.
- Short the Points: Use a conductive tool (like tweezers) to short the identified test points carefully. This will initiate the mode required for the operation.
Step 5: Connect to the Computer
- Now Connect the Device: While still shorting the test points, connect the Itel A60s to your computer via USB.
- Release the Short: Once connected, you can now safely release the short on the test points.
Step 6: Launch the Tool
- Open the Pandora Tool (or your preferred tool) on your computer.
- Follow the On-Screen Instructions: The tool will guide you through either the FRP removal or IMEI repair process.
Step 7: Verify the Changes
After completing the process:
- Disconnect the Device: Safely disconnect the Itel A60s from the computer.
- Power On: Turn the device back on and check if the FRP has been successfully removed and the IMEI is repaired.
Step 8: Final Adjustments
- If you still encounter issues, repeat the process ensuring all connections are secure.
- If you successfully unlocked the FRP and repaired the IMEI, reassemble the device and test all functionalities.
Important Precautions
While performing these procedures, keep in mind:
- ESD Precautions: Always wear an ESD wrist strap to prevent damage to sensitive electronic components.
- Follow Diagrams Accurately: Ensure that you are correctly identifying test points; mistakes can lead to further issues.
- Backup Data: If possible, back up information before making modifications, as data loss is often a risk.
Conclusion
The test point method for unlocking FRP and repairing IMEI on the Itel A60s proved to be a stable and effective solution. If you find yourself facing similar issues in the future, don’t hesitate to refer back to this guide.
If you found this tutorial helpful, make sure to like, share, and subscribe for more mobile repair tips and tricks! Your support helps us create more content and keep our community informed. Happy repairing!
#Itel #A60s #FRP #Bypass #IMEI #Repair #A662LM


