Unlocking Secrets: The 2025 VIVO Y01 FRP Bypass Method Revealed!
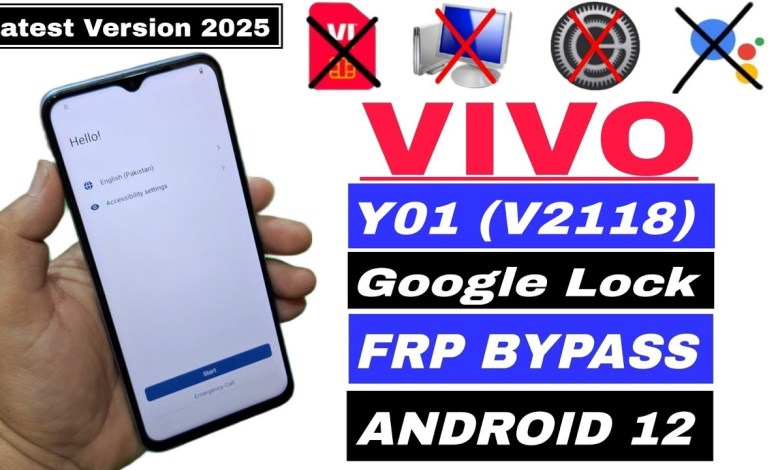
VIVO Y01 FRP Bypass 2025 New Security | VIVO Y01 (V2118) Google/FRP Android 12 | Setting Not Working
Vivo F1: Android 12 Settings and Google Assistant Issues
Introduction
Hello friends! I hope you all are doing well. In today’s video, we will address an important issue regarding the Vivo F1 smartphone. Many users have reported that the settings on their devices are not working, particularly when it comes to Android 12 functionalities. This guide will show you how to bypass issues without needing a PC or PIN lock. We will be using a new security method to resolve these concerns. So, let’s get started!
Step 1: Ensure Wi-Fi Connection
Before we delve into the settings, make sure that your device is connected to Wi-Fi. A stable internet connection will be necessary for the upcoming steps. You can check your Wi-Fi connection in the quick settings panel.
Step 2: Access Google Account
Once your Wi-Fi is connected, navigate to settings that aren’t opening properly. You might encounter a lock screen, but don’t worry! Tap on the Google Account option. At this stage, you will see the Google Logo appear.
Step 3: Bypass Google Lock
Now, to bypass this locked screen, you will need to return to the home screen after viewing the Google logo.
Step 4: Enable TalkBack
Next, we’ll utilize the TalkBack feature. Follow these steps:
- Go to Settings.
- Locate Accessibility Settings.
- Tap on TalkBack and enable it.
Using TalkBack, we can perform various functions that weren’t accessible before.
Step 5: Setting Up Braille Keyboard
After enabling TalkBack, you will have to set up a Braille keyboard. Here’s how to do it:
- Double-tap on the Braille Keyboard option.
- Now, make sure to enable the Braille keyboard as well.
- After enabling it, write “L” on the keyboard.
Step 6: Search for Settings
Next, navigate back to TalkBack Settings. There, we’ll perform the following steps:
- Use a three-finger swipe up to access settings.
- Once in the settings, go back again to TalkBack settings.
- You’ll need to suspend the TalkBack feature temporarily.
Step 7: Add a New Network
After suspending, head back to the settings for network configurations. Here’s what to do:
- Go to See All Networks.
- Select Add New Network.
- You’ll also turn on Accessibility Settings for better navigation.
Step 8: Enable Accessibility Menu
You need to allow the Accessibility Menu to be functional. Here’s how you can do it:
- Go to settings and find Help and Feedback.
- Look for options to select the keyboard.
- Once you are in the keyboard settings, type “Y”.
Step 9: Use YouTube to Play Video
Navigating back, you’ll discover the YouTube App. Follow these steps to access it:
- Tap on YouTube.
- Once the app launches, you may see browser options pop up.
- Select No Thanks to bypass any prompts.
Step 10: Searching for Solutions
Now that you have access to the browser, it’s time to search for solutions. You can look for various tips on fixing settings that won’t open. Type in keywords like “fix Android 12 settings issue on Vivo F1”.
Conclusion
In conclusion, dealing with Android 12 issues on your Vivo F1 doesn’t have to be daunting. By following the steps outlined in this guide, you should be able to resolve your settings concerns without additional equipment like a PC or having to remember PIN codes.
If you found this video helpful, please give it a thumbs up and subscribe to our channel for more tech tips. Thank you for watching, and good luck with your Vivo F1!
#VIVO #Y01 #FRP #Bypass #Security #VIVO #Y01
