Unlocking Secrets: The Latest 2025 Vivo Y20 FRP Bypass for Android 12 Revealed!
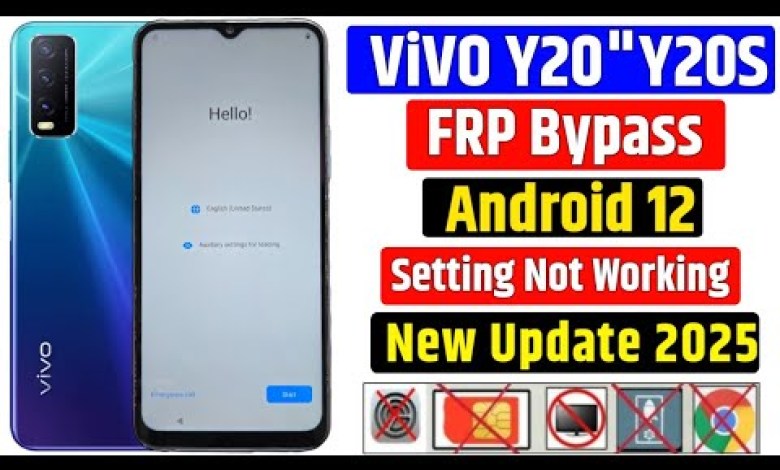
Vivo Y20 Frp Bypass Android 12 “New Update 2025” Vivo Y20 [2021] Gmail Lock Remove || Without Pc
Vivo Y20 FRP Bypass: A Complete Guide
Hello friends, welcome to my YouTube channel! In today’s video, we will be discussing how to bypass the FRP (Factory Reset Protection) on the Vivo Y20. If you accidentally performed a hard reset on your device and it’s asking for a previous Google account, don’t worry! I will guide you through the steps to resolve this issue in just 2 minutes. Let’s get started!
Step 1: Initial Setup
When you turn on your Vivo Y20 after a hard reset, you will see the Start button on your screen. Click on it to begin the setup process.
Proceed with the Setup
After clicking Start, you’ll see the Next button. Click on Next to move forward. You will then come across the Agree option where you need to accept the terms and conditions.
Step 2: Connect to Wi-Fi
Accessing Wi-Fi Settings
Now, you will see an option that asks you to Connect to Wi-Fi. At this stage, you will need to enable the hotspot on another mobile device and connect your Vivo Y20 to it.
Enter Hotspot Password
Once the hotspot is enabled, tap on See All Wi-Fi Networks. You will find your hotspot listed there. Enter your hotspot’s password to establish a connection.
Important: Ensure that your Wi-Fi is connected successfully as this is essential for the next steps.
Step 3: Navigating Back
After successfully connecting to Wi-Fi, you need to go back to the previous screen. This may seem a bit confusing, but don’t worry! Just tap on the back button until you reach the main setup screen.
Accessing TalkBack Features
Once you’ve navigated back to the main screen, you will see an option on the screen that allows you to click on TalkBack. Tap on it to enable the TalkBack feature, which will help us in the following steps.
Step 4: Activate TalkBack
Using TalkBack Settings
After enabling TalkBack, you will again click on the TalkBack option. Once that’s done, you will have to make a gesture that resembles an inverted “L.” This gesture is crucial to access the settings.
Accessing Keyboard Options
After the gesture, you will see the TalkBack Settings option. Click on it. You will be presented with keyboard options, and you need to tap on it.
Double Click Activation
Now, double click on the keyboard option. This action will open another set of settings. Next, look for the Setup option in the newly opened window and click on it.
Step 5: Completing the Bypass
Final Steps
Once you are in the setup interface, you will have to take some final steps. Make sure to follow all instructions carefully.
- Double-click on the keyboard option once again.
- After that, keep following the on-screen prompts until you reach a point where you can bypass the Google account verification.
Concluding the Bypass
You will eventually arrive at a screen where you can enter a new Google account or skip the step entirely. By following these steps accurately, you will be able to bypass FRP on your Vivo Y20 successfully.
Conclusion
Congratulations! You have successfully bypassed the FRP on your Vivo Y20. This process can seem complicated, but by following these steps closely, you can complete it in just a few minutes.
Feel free to comment below if you have any questions or if you faced any issues during the process. Don’t forget to like this video and subscribe to my channel for more helpful guides!
Thank you for watching!
#Vivo #Y20 #Frp #Bypass #Android #Update #Vivo
