Unlocking Secrets: The Ultimate Guide to Google Pixel FRP Bypass on Android 14/15 – Overcoming Gmail Lock!
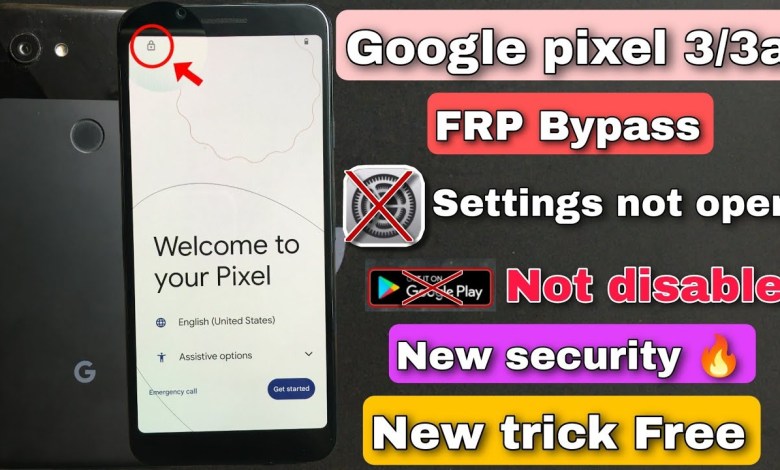
All Google Pixel FRP Bypass Android 14/15 | Gmail Lock Remove Google Pixel 3a “Update 2025” Free
Google Pixel 3A FRP Bypass Guide
Hello friends, welcome back to our YouTube channel! Today, I have the Google Pixel 3A smartphone in front of me. As you can see, the problem we’re facing is the FRP lock issue, which means a Google account is already associated with this device. If you notice, there’s a lock symbol displayed on the screen. Let me show you the setup process where it demands to verify your email ID.
Understanding FRP Lock
FRP, or Factory Reset Protection, is a security feature introduced by Google. This feature is designed to protect your device from unauthorized access. If a device is reset, the user will need to provide the credentials of the Google account that was previously synced to the device. This helps to deter theft and protect personal information.
In this video, we will guide you on how to bypass the FRP lock on the Google Pixel 3A. So, if you’re facing similar issues, stay tuned!
Setup Process
Power On the Device
Start by powering on your Google Pixel 3A. You will be greeted with the setup screen asking for the Google account verification.Connection to Wi-Fi
Here, you have to connect the phone to a Wi-Fi network. Select your network and enter the password. Click on "Don’t Copy" when prompted.Enter a PIN
After connecting to Wi-Fi, the phone will require you to verify your PIN. If you don’t remember it, you can enter any random PIN.- Using Google Account
An option will appear asking to verify your account. Click on "Use My Google Account" to proceed.
Bypassing the FRP Lock
Here’s the most critical part! Let’s bypass this lock:
Step 1: Access the TalkBack Feature
Use Volume Buttons
You need to press both the ‘Volume Up’ and ‘Volume Down’ buttons simultaneously. This action will activate the TalkBack feature.- Enable TalkBack
Once TalkBack is enabled, you will hear a notification confirming it. This feature assists visually impaired users by providing auditory feedback.
Step 2: Navigate the Screen
Now, the next step is to navigate using TalkBack:
Gesture Control
Use a two-finger swipe gesture to navigate through the options. This is essential to access the screen features.Swipe to Get Options
Swipe until you find the option to go back or access settings.- Disable TalkBack
If the screen does not respond how you want it to, you can disable TalkBack by using the Volume buttons again.
Step 3: Access the Wi-Fi Settings
After troubleshooting with TalkBack:
Back to Setup
Go back to the setup process and click on "Get Started."Adding a New Network
Now make your way to the Wi-Fi settings and click on "Add New Network."- Connecting to the Network
Here, ensure that you are still connected to a working internet connection.
Additional Steps
Access Voice Settings
Once you are back in Wi-Fi, you will see an option for Voice or Google Assistant settings. Click on it.- Performing a Google Search
You can try to perform a Google search by typing something. This action can help in bypassing the locked screen.
Conclusion
At this point, you should be able to bypass the FRP lock on your Google Pixel 3A. Once successfully bypassed, you can reset the device or set up a new Google account as you wish.
If you found this guide helpful, don’t forget to like and share it with friends who might also need assistance. For more technology-related tips and tricks, subscribe to our channel.
Have any questions or need further assistance? Don’t hesitate to drop your comments below, and I’ll be sure to help you out.
Final Notes
Bypassing FRP can sometimes be tricky, so patience is key. If at first, you don’t succeed, try going through the steps again. Each device may behave slightly differently, so minor adjustments might be necessary.
Thank you for watching! Until next time, take care!
#Google #Pixel #FRP #Bypass #Android #Gmail #Lock
