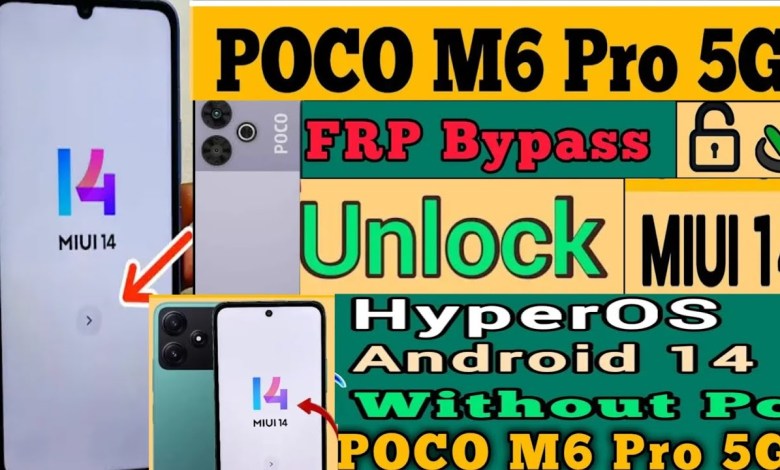
Unlocking Secrets: Xiaomi’s HyperP Bypass for Android 15 on the Poco M6 Pro 5G!

Xiaomi HyperOS 2 FRP Bypass Android 15 | Poco M6 Pro 5G FRP Bypass HyperOS 2 | Poco M6 Pro 5G FRP
Poco M6 Pro 5G: A Comprehensive Guide to Setting Up Your New Device
The Poco M6 Pro 5G is an exciting addition to the smartphone market, offering robust features wrapped in an appealing design. In this article, we will guide you step by step through the setup process, ensuring that you can make the most out of your new device.
Initial Setup and Wi-Fi Connection
Once you have unboxed your Poco M6 Pro 5G, the first step is to power it on and connect to a Wi-Fi network. Follow these simple instructions:
- Power On Your Device: Press and hold the power button until the Poco logo appears.
- Connect to Wi-Fi:
- Swipe down from the top of the screen.
- Tap on the Wi-Fi icon to open the Wi-Fi settings.
- Select your network and enter the password.
Adding a Network
After connecting to Wi-Fi:
- Slide Down the Notifications Panel: Once you’re connected, slide down from the top of the screen again.
- Select "Add Network": This option will allow you to add an additional network if needed.
Accessing Settings
To personalize your Poco M6 Pro 5G settings:
- Go to Settings:
- Look for the gear icon in your app drawer or notifications panel.
- Navigate to Emoji Settings:
- Scroll to find the section labeled "Emoji" and click on it.
Signing In to Your Account
Now that you have configured the basic settings, it’s time to sign into your account:
- Select "Sign In":
- Click on the profile option, and then choose "Sign In."
- Choose Your Account:
- A list of accounts will pop up; select the one you want to use.
Understanding User Agreements
Before you proceed:
- Review User Agreements:
- Click on the Privacy Policy and read through the user agreement.
- Make sure to understand the terms by giving a long press on the text, which will allow you to share it if needed.
Sharing Data Between Devices
To ensure a smooth transition of data from your old device to your new Poco M6 Pro 5G:
Use Share Me:
- On your old phone, download Share Me and the Activity Launcher app.
- Open the Share Me app on both devices.
Connect Both Phones:
- On the new phone, choose "Receive" in the Share Me app.
- A QR code will appear—scan this QR code using the old phone.
- Transfer Files:
- After connecting, click on “Share Files” on your old phone.
- Navigate to the applications and select the Activity Launcher to send it to the new device.
Installing the Activity Launcher
Once the file transfer is complete:
Locate and Install the Activity Launcher:
- Head to the app drawer on your new Poco M6 Pro 5G.
- Find the Activity Launcher file and click to install it.
- Run the App:
- After installation, tap on the app to run it.
- You may need to accept a disclaimer; press "OK" to proceed.
Configuring Android Setup
With the Activity Launcher now on your device, you’re ready to configure Android settings:
Scroll to Find Android Setup:
- As the app loads, scroll down until you see the ‘Android Setup’ option.
- Click on it to proceed.
Bypass Lock Screens:
- Look for any lock symbols displayed on the screen. You’ll need to slide down through sections where these locks don’t appear.
- Make sure you successfully navigate through these options.
- Completion:
- After following the prompts, you should see a ‘Finish’ option indicating the successful setup of your Poco M6 Pro 5G.
Conclusion
Setting up your Poco M6 Pro 5G can be a straightforward process if you follow these steps effectively. From connecting to Wi-Fi to successfully installing apps and customizing settings, you now have a perfectly configured device ready for use. Enjoy exploring the features and capabilities that your new smartphone has to offer!
By following this guide, you are now well-equipped to start using your Poco M6 Pro 5G. Whether you want to play games, browse the internet, or manage your work, this smartphone is designed to meet your needs. Happy exploring!
#Xiaomi #hyperP #Bypass #Android #Poco #Pro


