Unlocking the Mystery: AT&T Vista 2 FRP Bypass U572AA on Android 14, Google 2025
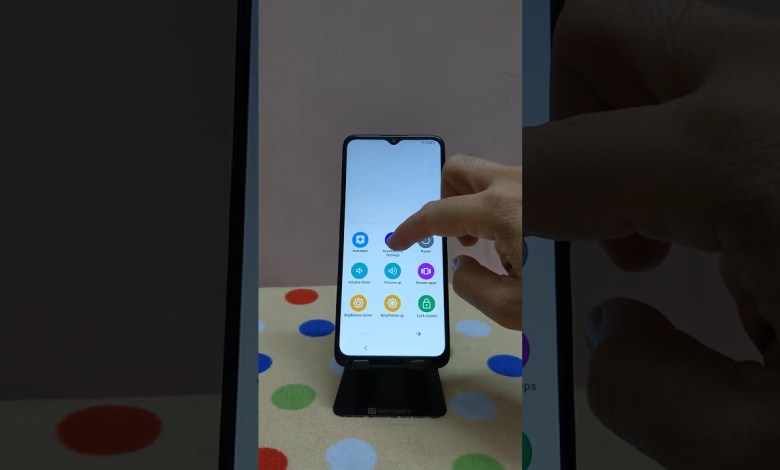
AT&T Vista 2 FRP Bypass U572AA Android 14 2025 Google Unlock without PC
Bypass Google Account Verification on AT&T Vista 2 Phone
In this article, we will guide you through the process of bypassing Google account verification on the AT&T Vista 2 phone. This method involves a series of steps that can help you gain access to your phone if you are unable to verify your Google account. Follow the instructions carefully to successfully bypass the verification process.
Step 1: Return to the “Hi There” Screen
To begin the process, you will need to move back to the “Hi There” screen on your AT&T Vista 2 phone. Once you are on this screen, proceed to the next step.
Step 2: Access Emergency Call
On the “Hi There” screen, locate and tap the Emergency Call button. This will allow you to make an emergency call from your phone.
Step 3: Dial 112
After tapping the Emergency Call button, dial 112 on the keypad. This will initiate an emergency call from your phone.
Step 4: Retry Location Retrieval
If the call fails to retrieve your location, try dialing 112 again. It is important to ensure that your location is detected for the next steps to work.
Step 5: Click on Map and End Call
Once your location is detected, click on the Map option on the call screen. This will open the map interface on your phone. End the call to proceed further.
Step 6: Skip Signing In on Google Maps
On the Google Maps interface, skip the signing in process and move ahead without signing in to any Google account.
Step 7: Share a Message
Next, tap the Share button located at the bottom of the screen. Select Messages from the sharing options to proceed.
Step 8: Send a Message with YouTube Link
Click on “New Message” and enter any number, such as 999, in the recipient field. Send the message. Once sent, erase the message content and type www.youtube.com in the message field. Send the message again.
Step 9: Access YouTube
Tap on the YouTube link in the message to launch the YouTube app on your phone. This will open the YouTube interface on your device.
Step 10: Navigate to Settings
In the YouTube app, click on the user profile link located at the top right corner. From the menu, select Settings to access the settings options.
Step 11: Access YouTube Terms of Service
In the Settings menu, navigate to the About section and select YouTube Terms of Service. This will launch the Google Chrome app on your phone.
Step 12: Use Chrome Without Signing In
In the Google Chrome app, choose the option to use without an account. This will allow you to access the web browser without signing in to any Google account.
Step 13: Visit Addrom Bypass Website
Now, open the web browser and visit the Addrom Bypass website. Look for the option to “Open Setting” on the website and click on it to proceed.
Step 14: Disable Google Play Services
In the Settings section of the website, go to Apps and then App Battery Usage. Open Android Setup and click on the “Force Stop Button” to disable the app. Next, open Google Play Services and hit the DISABLE option to prevent the app from running.
Step 15: Enable Accessibility Menu
Move back to the Settings page and open Accessibility. Enable the Accessibility Menu Shortcut to access the accessibility features on your phone.
Step 16: Restart Your Phone
After enabling the Accessibility Menu Shortcut, restart your phone to apply the changes. When your phone turns on, proceed to the next step.
Step 17: Access Accessibility Settings
Upon restarting your phone, tap the Accessibility Menu Shortcut to bring up the Accessibility settings. This will allow you to customize the accessibility features on your phone.
Step 18: Enable Talkback
In the Accessibility settings, click on Talkback to enable the feature. This will provide audio feedback to assist you in navigating your phone.
Step 19: Configure Braille Keyboard
Navigate to the Talkback Settings page and locate the Braille Keyboard option. Click on it and proceed to set up the Braille keyboard by selecting Gboard as the input method.
Step 20: Access Addrom Bypass Website Again
Tap on “Share Gboard” and select the Chrome icon to launch the web browser. Visit the Addrom Bypass website again to continue with the bypass process.
Step 21: Re-enable Google Play Services
On the website, look for the option to “Open Setting” and click on it to access the settings. Go to Apps > App Battery Usage and open Google Play Services. This time, choose the ENABLE option to re-enable the app on your phone.
Step 22: Return to the “Hi There” Screen
After re-enabling Google Play Services, move back to the “Hi There” screen to start the verification bypass process again. You should now be back on the initial screen of your phone.
Step 23: Start the Setup Process
Tap the START button on the first page to begin the setup process. This will allow you to proceed with the phone setup without verifying your Google account.
Step 24: Back Out to Wi-Fi Screen
If you are prompted with the “Getting your phone ready” or “Copy apps & data” screen, click the back key once to return to the Wi-Fi screen. This will give you access to the Wi-Fi settings on your phone.
Step 25: Continue in English
On the Wi-Fi screen, tap on the option to set the language to English. Follow the on-screen instructions to set up the language preference on your phone.
By following these instructions, you should be able to bypass Google account verification on your AT&T Vista 2 phone successfully. If you encounter any issues during the process, make sure to carefully follow each step and double-check your settings. With patience and attention to detail, you can regain access to your phone without the need to verify your Google account.
#ATT #Vista #FRP #Bypass #U572AA #Android #Google
