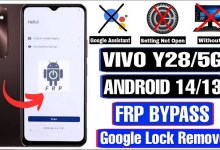
Unlocking the Secrets: How to Bypass FRP on the VIVO V25 When Settings Won’t Open!
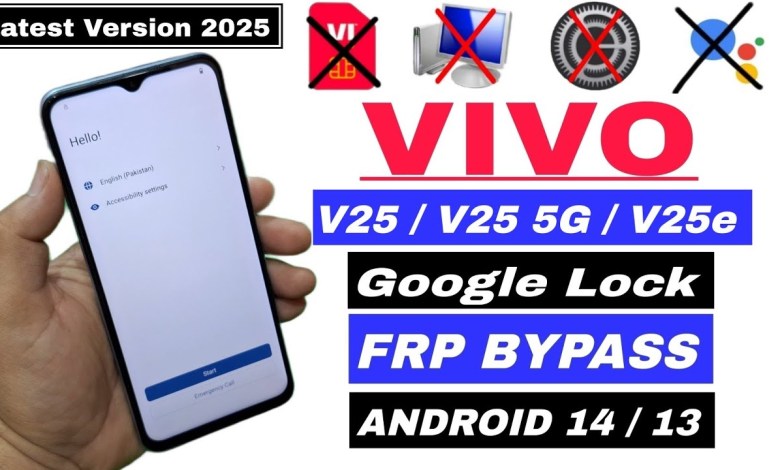
VIVO V25 FRP Bypass | Settings Not Opening | VIVO V25 5G FRP Android 14 | VIVO V25e Google/FRP Lock
How to Bypass FRP on Vivo Android 14: A Complete Guide
Introduction
Hello friends! I hope you are all well. In today’s video, we will discuss how to bypass the Google Account verification process (FRP) on Vivo devices running Android 14. This guide will also help if the Google Assistant isn’t working. Let’s get started!
Why Bypass FRP?
Factory Reset Protection (FRP) was designed by Google to protect your device and personal information after resetting your phone. However, it can sometimes hinder legitimate users. In such cases, bypassing FRP becomes necessary.
Requirements
To successfully bypass FRP on your Vivo device, you’ll need:
- A Vivo smartphone
- A stable internet connection
- Another Android phone for downloading apps
- Patience
Step-by-Step Guide to Bypass FRP
Step 1: Prepare Your Device
First, you need to ensure your Vivo device is ready for the bypass process. If you’re at the Google Account verification screen, follow these instructions:
- Tap the ‘Google Account’ option.
- Check if your device is powered on and connected to Wi-Fi.
Step 2: Enable Accessibility Features
Tap on Accessibility Options.
- This is usually available after tapping on the ‘Google Account’ option.
- Enable TalkBack.
- Tap on ‘TalkBack’ to activate it. This feature will help guide you through the setup.
Step 3: Navigate to Screen Search
- Type ‘L’ on the keyboard to trigger the Accessibility menu.
- Double-tap on the screen.
- This will open the screen search.
Step 4: Access Settings
Select Settings.
- Use three-finger swipe up to navigate to ‘Settings’.
- Allow Permissions.
- After navigating to settings, tap back and don’t forget to suspend TalkBack.
Step 5: Connect to a New Network
Start the setup process:
- Tap ‘Start’, then ‘Next’.
- Add a new network.
- Go to ‘Add New Network’ and turn on Accessibility settings.
Step 6: Access Help & Feedback
- Scroll down to Accessibility menu.
- Tap on Help & Feedback.
- Type ‘YouTube’ in the search bar.
Step 7: Navigate to YouTube
Select the appropriate link.
- This will redirect you to a YouTube page.
- Open the settings.
- Navigate to ‘About’ and then tap on ‘YouTube Terms of Service’.
Step 8: Browser Workaround
Chrome should open.
- By this point, you should have access to a browser.
- Type in the required links.
- Follow any necessary instructions provided.
Step 9: Use Easy Share
Look for Easy Share in settings.
- It should appear as you navigate down.
- Agree to any terms and conditions.
Step 10: Launch New Device Setup
Start setting up as a new device.
- Click on ‘New Device’ and select ‘Android’ as the system type.
- Grant the required permissions.
- Ensure you provide all permissions necessary for the process.
Step 11: Download Applications
Using another device, download two apps:
- ‘Activity Launcher’ and ‘Easy Share’ from the Play Store.
- Follow the setup process.
Troubleshooting Tips
- If your device fails to bypass FRP, ensure all steps were followed correctly.
- Make sure the apps needed for the bypass were downloaded successfully.
- Restart your Vivo device if you encounter issues.
Conclusion
Bypassing FRP can be a challenging process, especially if you’re not familiar with Android settings. However, following this guide step-by-step should help you successfully bypass the Google verification process on your Vivo Android 14 device. Always remember to use these methods responsibly and only on devices that belong to you. If you have any questions or need further assistance, feel free to leave a comment or reach out!
Thank you for watching, and don’t forget to like and subscribe for more helpful tech tutorials!
#VIVO #V25 #FRP #Bypass #Settings #Opening #VIVO #V25
