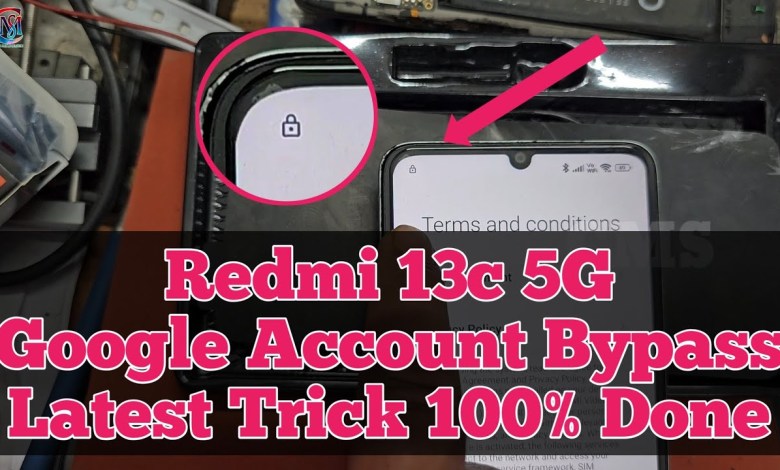
Unlocking the Secrets: How to Easily Bypass FRP on Your Redmi 13C 5G!

Redmi 13c 5G FRP Unlock | How to Remove FRP Redmi 13c 5G | Google Account Bypass Redmi 13c 5G |
Unlocking Redmi 13C FRP: A Step-by-Step Guide
Unlocking the FRP (Factory Reset Protection) of a Redmi 13C can seem a daunting task, but with the right steps, it can be done seamlessly. In this guide, we will walk you through the entire process, ensuring each step is clear and easy to follow.
Step 1: Connect to Wi-Fi
The first and foremost action required is to connect your Redmi 13C to a Wi-Fi network. This is essential as it allows the device to communicate with Google’s servers for authentication.
- Power on your device.
- Swipe down from the top of the screen to access the settings menu.
- Select Wi-Fi and choose your network.
- Enter the password and connect.
Step 2: Bypass the Google Account Verification
After connecting to Wi-Fi, the device will prompt you for account verification. Here, you need to identify the specific pattern or other identifiers for the lock. Follow the prompts to access the next steps.
- Locate and tap on “Add Network”.
- Enter anything you want, then highlight a word.
- Tap the “Share” icon and select “Share Me” from the list.
Step 3: Using Another Device to Share the App
For this step, you will need a second smartphone or device that has the “Share Me” app already installed. Here’s how to share the necessary files:
- Open "Share Me" on the second device.
- Select "Receive" option.
- From the first device, send the required files and applications through “Share Me”.
Step 4: Install and Run the Necessary Apps
After successfully transferring the files to the Redmi 13C:
- Install the applications you received.
- Once installed, tap “Open” to run the app.
- Follow any additional prompts that may appear.
Step 5: Android Device Setup
After running the necessary applications, let’s proceed to the Android device setup:
- You will find a blank settings icon.
- Click on it and then tap “Start”.
- Now, click on “Connect” and select “Next”.
- In the setup options, look for “Setup My Device” and connect it.
Step 6: Copying Data or Skipping It
At this point, you will be prompted about copying data from your previous device. You have two options:
- Copy Data: This will transfer all data including contacts, messages, and apps.
- Don’t Copy: Select this if you want a fresh start.
For those choosing Don’t Copy, select “Next”.
Step 7: Google Account Setup
Moving on to the Google account setup:
- You will be asked to select Google search and other preferences.
- Skip the password setup if you prefer.
- You may be prompted to set up a fingerprint. You can choose to configure this now or skip it for later.
Step 8: Finishing Up
After going through the setup process, follow these final steps:
- Click on “Done” or “Next” as directed.
- Patience is key; the first setup may take a little longer.
- Make sure to review and adjust any settings as necessary during the completion process.
Conclusion
Once all the steps are followed correctly, your Redmi 13C should be fully unlocked, allowing you access to your device. Remember, this process might seem complex at first glance, but with patience and attention to detail, you will successfully complete the FRP unlock.
Subscribe for More Tutorials
If you found this tutorial helpful, consider subscribing to our YouTube channel for more informative videos and guides. We are here to help you with your tech needs!
Jai Hind! Vande Mataram!
#Redmi #13c #FRP #Unlock #Remove #FRP #Redmi #13c


