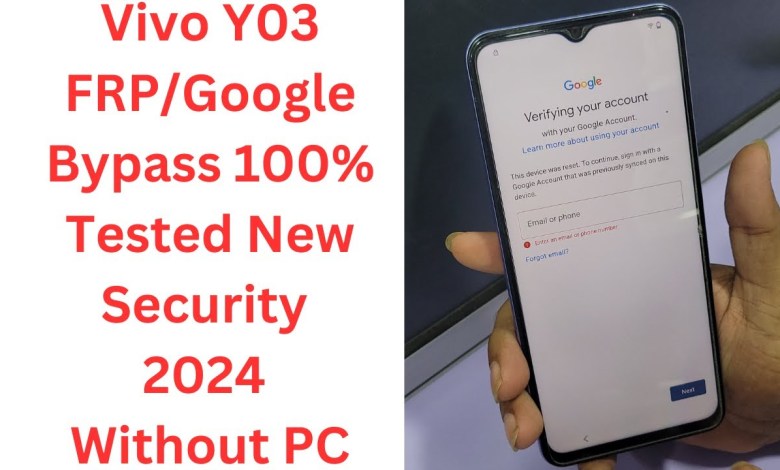
New Security Vivo Y03 FRP/Google Bypass – 100% Tested and Verified

Vivo Y03 FRP/Google Bypass 100% Tested New Security 2024 Without PC / vivo y03 frp bypass android 14
The YouTube script provided here seems to be a guide on how to set up a specific model of a device. The script highlights the steps to follow in order to add account settings, pass through the back button and press both volume up and down buttons. It also mentions clicking on the power button, creating a shape, clicking on the search screen, selecting language, sliding to the side with three fingers, clicking on the keyboard and enabling it, pressing the volume down and up buttons again, turning off the back button, and proceeding to the settings menu. The script continues with instructions to turn on the account’s ton, elite, and open options, navigate to special menus, search for certain settings, and open them all to set up a new ride to allow cloning of the device and so on.
Setting Up a New Model Device: A Step-by-Step Guide
As technology continues to advance, setting up a new model device can be a daunting task for many users. However, with the right guidance and instructions, the process can be simplified and completed efficiently. In this article, we will provide a detailed step-by-step guide on how to set up a new model device based on a YouTube script.
Adding Account Settings
The first step in setting up the new model device is to add account settings. This involves logging into the account and passing through the back button. Once this is done, press both the volume up and down buttons to proceed to the next stage.
Volume Adjustment
After adding account settings, the next step is to adjust the volume. Press both the volume up and down buttons simultaneously and hold them to set the volume level accordingly. Click on the power button to confirm the settings.
Creating a Shape and Language Selection
To create a shape, click on the back button and then proceed to the search screen. Click on the language option, select the desired language, and click on ‘Next’. Slide to the side with three fingers to complete the action. Repeat this process with one finger for accuracy. Click on the keyboard option and enable it to proceed.
Enabling Keyboard and Volume Adjustment
To enable the keyboard, click on the keyboard option and proceed to the settings menu. Click on the keyboard option and enable it to activate the keyboard settings. Press the volume down and up buttons to adjust the volume accordingly. Turn off the back button and proceed to the next step.
Transition to Elite and Special Menu
After adjusting the volume and enabling the keyboard, turn on the account’s ton and elite options. Navigate to the special menu and search for the desired settings. Open the settings to proceed with the setup process.
Activating a New Ride and Cloning the Device
Proceed to the system settings to activate a new ride. Click on the clone option and set up the new ride for device cloning. Allow for the transfer of data between devices and proceed with the setup.
Downloading Essential Apps
Before proceeding with the setup process, ensure that essential apps are downloaded on the new model device. Download apps such as G- Firmware and G- Share to facilitate the setup process. Additionally, download an activity launcher to streamline the setup process.
Enabling Location and Sharing Options
Open the downloaded apps and enable location services. Ensure that sharing options are also enabled to allow for seamless data transfer between devices. Start the setup process and proceed with the following instructions.
Scanning and Connecting
Once the setup process is initiated, scan the device using the scanning option on the screen. Connect the new model device to ensure a smooth transfer of data. Proceed with the setup process by allowing for the transfer of all data.
Finalizing Setup
Once all the steps are completed, finalize the setup process by confirming the settings. Ensure that the chosen lock screen settings are applied to the new model device. The data transfer process will be initiated, and the setup will be completed successfully.
In conclusion, setting up a new model device can be a complex process, but with the right guide, it can be efficiently completed. Refer to the instructions provided in this article for a seamless setup experience.
#Vivo #Y03 #FRPGoogle #Bypass #Tested #Security


