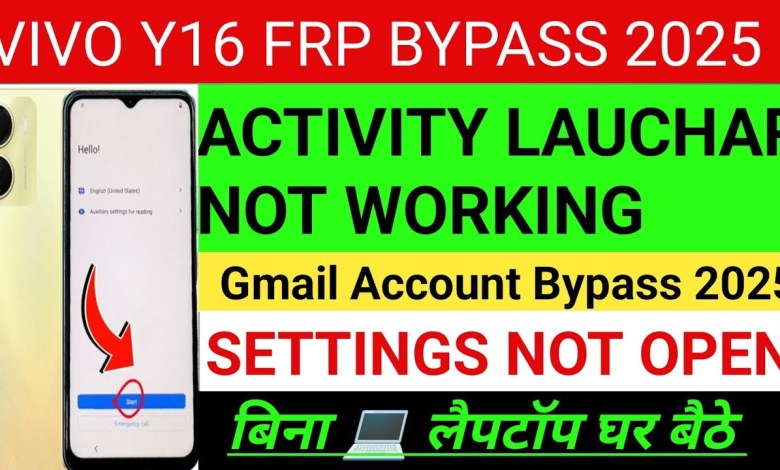
Uncover the Secret: Vivo Y16 Frp Bypass on Android 12

Vivo Y16 Frp Bypass Android 12 | Vivo Y16 Frp Bypass 2025 |Settings not working। without pc।
Unlocking the Vivo 16 Android Phone: A Step-by-Step Guide
In this article, we will guide you through the process of bypassing Google account verification on the Vivo 16 smartphone. This step-by-step guide will help you navigate through the various settings and options to successfully unlock your device.
Step 1: Accessing the Initial Setup
First, turn on your Vivo 16 device and go through the initial setup process. Once you reach the Google account verification screen, follow these steps:
- Click on the "Next" button to proceed.
- Connect to a Wi-Fi network.
- You will see that the device is locked. Simply go back by pressing the back button.
- Tap on the top back button to return to the previous screen.
- Press and hold the volume plus and minus buttons together to access the music control feature.
- Turn on the device by pressing the power button.
- Press and hold the volume plus button to activate the help feature.
- Open Google Assistant by saying "OK Google" or tapping on the Google Assistant icon.
- Once Google Assistant is open, say "Open YouTube" to launch the YouTube app.
- Wait for the app to load and then go back by tapping on the top back button.
- Press and hold the volume plus and minus buttons to turn off the device.
- Accept the prompt to continue the setup process.
Step 2: Bypassing FRP Lock
If you encounter any issues with accessing the settings menu, follow these steps:
- Open the settings menu by tapping on the three dots in the top right corner.
- Select the "Share" option from the menu.
- Scroll down and tap on the three dots again.
- Select "Settings" from the options provided.
- Navigate to the Accessibility settings and enable the Player Controls feature.
- Go to Device Settings in the Accessibility menu and turn on Google Assistant.
- If needed, enable the Switch Access feature.
- Say "Open Easy Share" to open the Easy Share feature.
- Agree to the terms and conditions and start the setup process.
- Scan the QR code with your old device and grant permission to access your new device.
- Download and install the Activity Launcher and EZ Share apps from the Play Store on your new device.
- Open the EZ Share app and connect your old device by scanning the QR code.
- Grant the necessary permissions on both devices to proceed.
Step 3: Unlocking the Device
Now that you have successfully bypassed the Google account verification process and set up the necessary permissions, you can proceed with unlocking your Vivo 16 device:
- On the old device, scan the QR code displayed on the new device.
- Once connected, navigate to the apps section and select the Activity Launcher.
- Send a lock request from the old device to the new device.
- Grant the necessary permissions on the new device to complete the unlocking process.
- The device will unlock, and you will see an icon on the top indicating a successful unlock.
- Click on the icon to access the app and navigate through the settings.
By following these steps, you can easily bypass Google account verification on the Vivo 16 Android smartphone and unlock your device without any hassle. If you encounter any issues during the process, feel free to refer back to this guide for assistance.
#Vivo #Y16 #Frp #Bypass #Android #Vivo #Y16 #Frp #Bypass


