Unlock the Secrets: Vgotel Flex 2 FRP Bypass Made Easy with Just One Click!
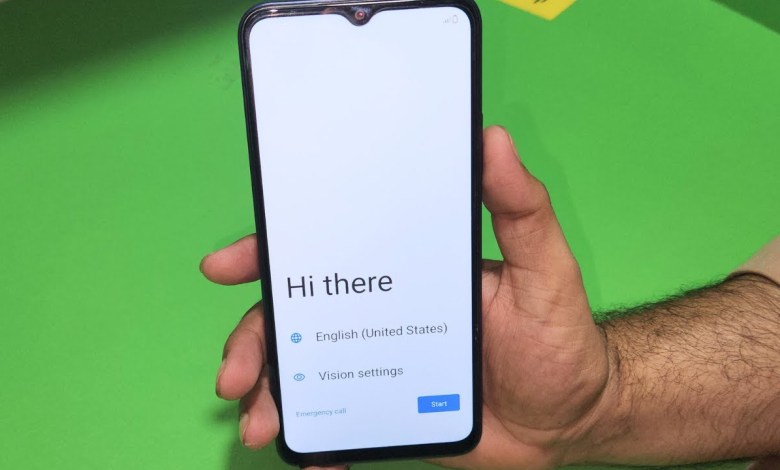
Vgotel Flex 2 FRP BYPASS One Click With Tool | vgotel flex 2 frp bypass
Unlocking the Vigo Del Flex 2: A Step-by-Step Guide
Welcome to our tutorial! Today, we’ll walk you through the process of unlocking the Vigo Del Flex 2, which comes equipped with an FRP lock. If you’re facing issues with the Google account or need to hard reset your device, this guide is for you!
What is FRP Lock?
FRP stands for Factory Reset Protection. This feature is designed to protect your device from unauthorized access after a factory reset. If you forget your Google account credentials, unlocking the device becomes essential. Let’s dive into the steps required to bypass this lock.
Preparing the Device
Step 1: Power Off the Device
Before we can get started, you need to power off the Vigo Del Flex 2. Make sure the device is fully shut down.
- Press and hold the power button.
- Select “Power Off” from the menu that appears.
Step 2: Select the Right Tool
For this operation, you will need the DFT Tool. This tool can be purchased or rented, depending on your preference. Make sure to select the Advanced Authorization option in the tool.
- Open the DFT Tool.
- Select the appropriate settings as described below.
Configuring the DFT Tool
Step 3: Select the Chipset
Once you have the DFT Tool open, you must select the correct chipset:
- Choose SC 98 63A from the available chipset options.
- Avoid selecting the 64-bit version; stick with Version One.
Step 4: Resetting the FRP
After selecting the chipset, you will need to prepare for the FRP reset:
- Click on the FRP Reset option.
- Wait for approximately 10 seconds.
- After that, press the Volume Down button.
Step 5: Connecting the Device
Now it’s time to connect your device to the computer:
- With the device powered off, plug in the USB cable.
- Sending the payload will commence.
Monitoring the Process
Step 6: Loading the Payload
Once the device is connected, the process will begin automatically. You may see a series of loaders:
- The first loader will be FDL Loader.
- Followed by FDL 1 and FDL 2.
Step 7: Confirming Model and Chipset
During this process, keep an eye on your screen. The model name and chipset will appear on the interface, confirming that the process is underway.
Completing the Unlocking Process
Step 8: Wait for Device to Power On
Once the FRP has been removed, the device will take some time to turn back on. It is essential to be patient during this phase.
- Allow the device to rest as it boots up.
- Once it is on, you’ll see an Offline Setup option on the screen.
Step 9: Setting Up Your Device
Your device will guide you through the setup process.
- Select the Continue option.
- Follow the on-screen instructions until you reach the home screen.
Wrapping Up
Final Thoughts
Congratulations! You have successfully unlocked your Vigo Del Flex 2. If you found this video helpful, please give it a thumbs up and subscribe to our channel for more tutorials.
Feedback and Support
If you have any questions or run into issues during the process, feel free to leave a comment below. We’re here to help!
This guide outlines the entire process of unlocking the Vigo Del Flex 2 step by step. With careful attention to detail and patience, you can navigate through the complexities of FRP lock removal successfully. Happy unlocking!
#Vgotel #Flex #FRP #BYPASS #Click #Tool #vgotel
